Google Shopping Advertising – 3 steps to maximize your ROAS
Posted on 11/16/2023
Reviewed by Arnt Eriksen updated at 11/29/2023
Introduction
In Google Shopping Advertising, there is no keyword targeting – the system picks relevant keywords based on the information you provided in the product feed.
So, a totally different advertising strategy is required.
In this short article, we will share our favorite tips that will help you to make your advertising on Google Shopping profitable.
1. Prepare the perfect product feed.
The results of Google Shopping Advertising highly depend on the content of your product feed.
The feed is a file containing all required information about your products. This file is submitted via the Google Merchant center where you can monitor how healthy your feed is.
1.1. All required fields must be filled, otherwise, you will get no traffic:

List of required attributes:
- Id
- title
- description
- link
- image_link
- price
- availability
- shipping (but it is possible to add specifications in the merchant center account)
- gtin or mpn+brand
1.2. Don’t limit yourself to the required attributes only.
There are a lot of other attributes such as:
- Brand
- Condition
- Color
- Size
- Age_group
- Gender
- Adult
- Sale_price
- Product_type
- GTIN
- MPN
- material
- custom_labels
- additional_image link
- google_product_category
- item_group_id
These attributes will help you to control your shopping campaigns more flexibly and still obtain a broader reach. Here is a detailed description of the most effective attributes:
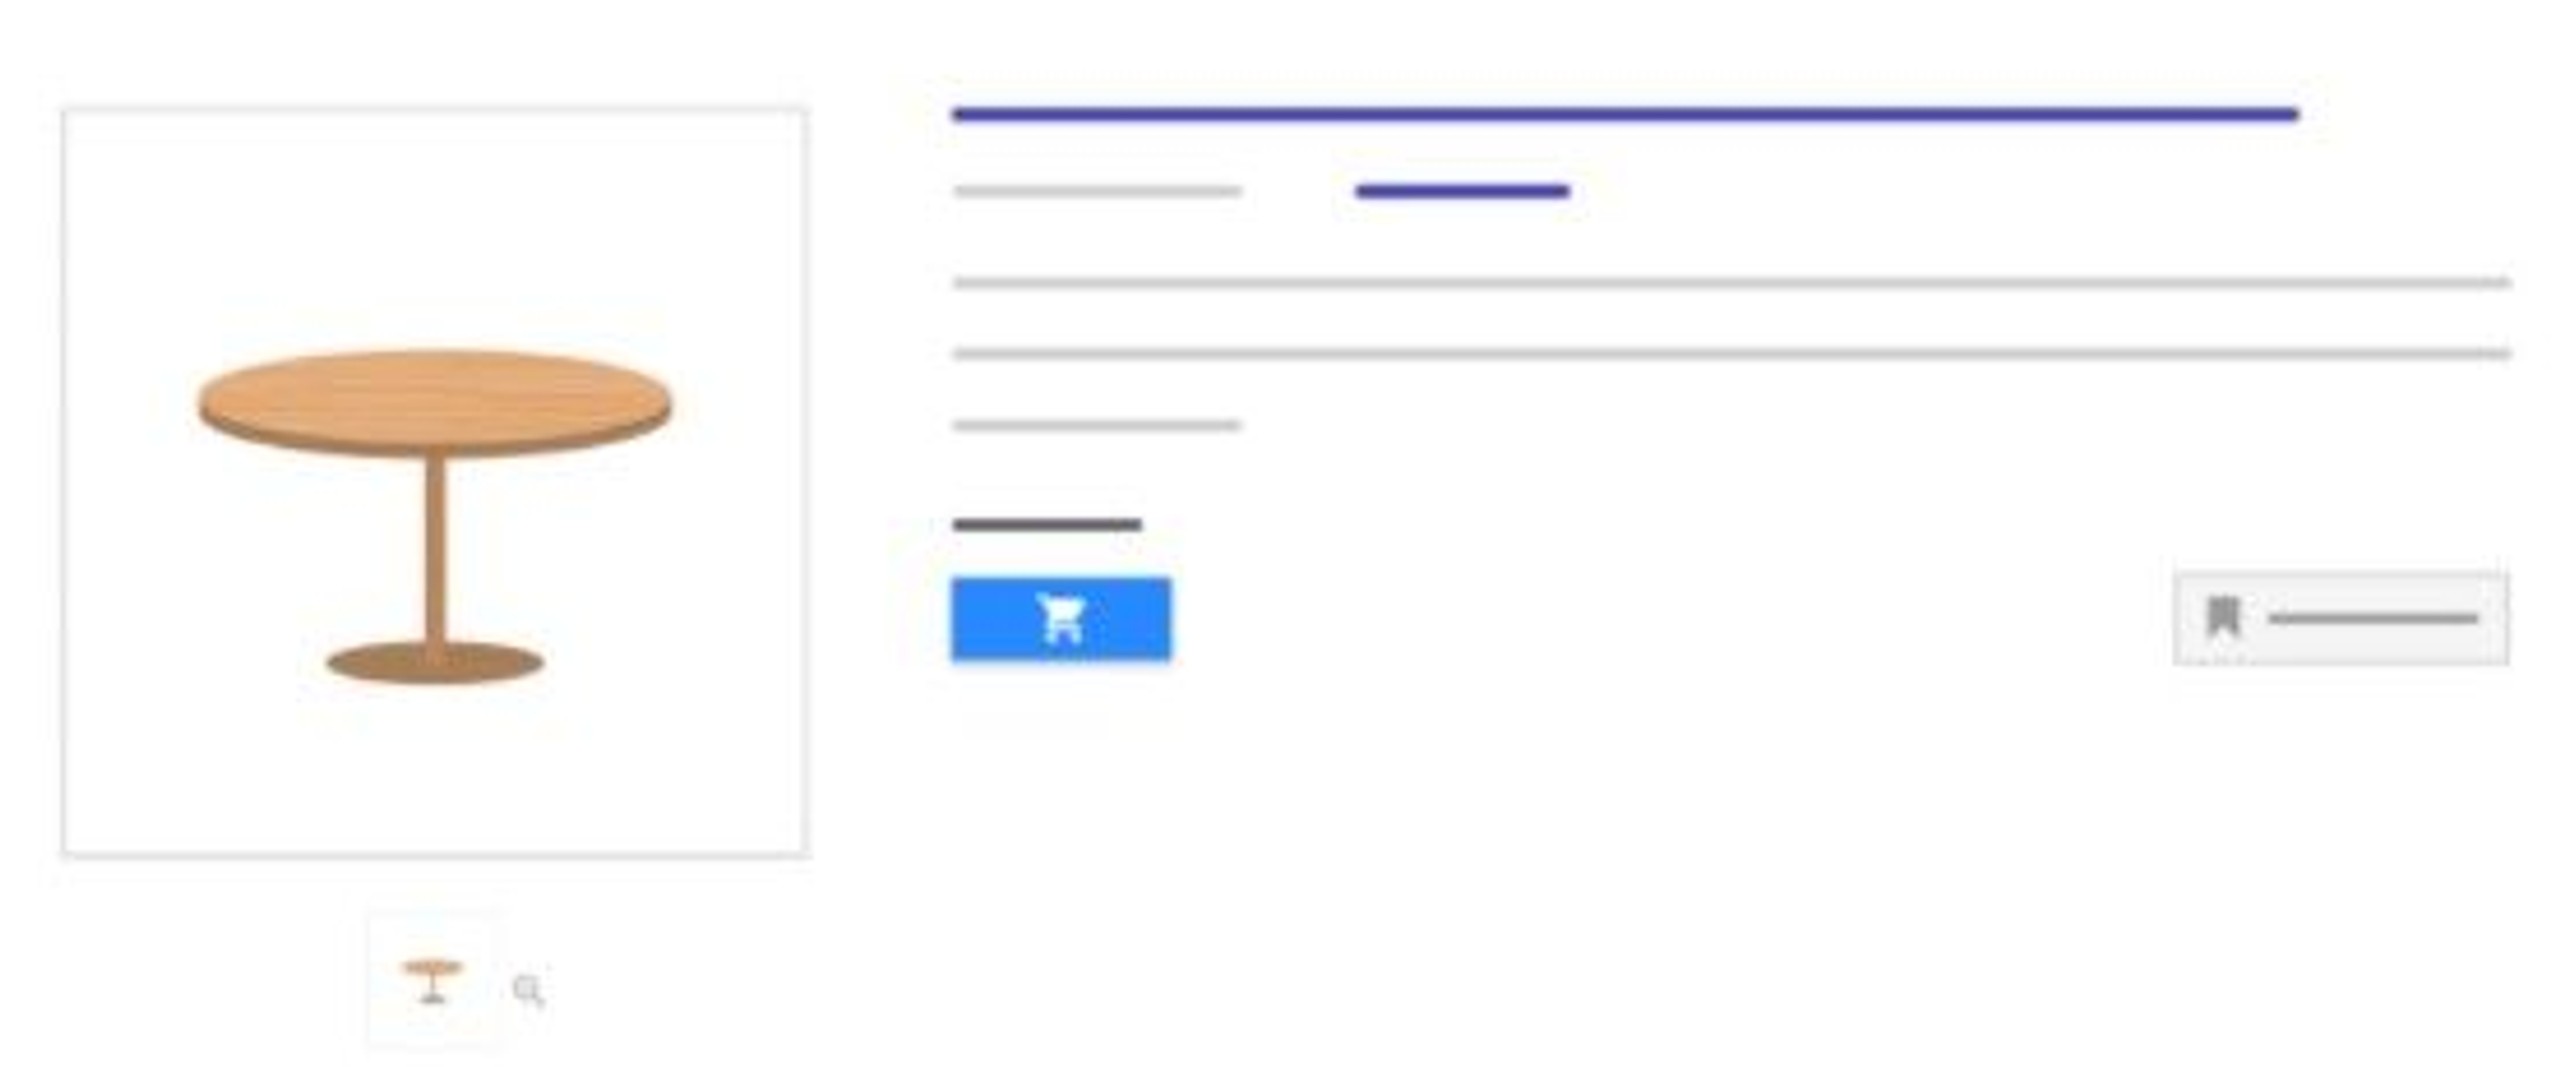
Additional_image_link allows you to submit up to 10 additional product images. This can make a big difference, as you can present your product from different angles. As shoppers are mostly basing their purchasing decision on the image, you need to somehow stand out from your competitors.
By selecting the right image, you can tell shoppers the most important messages about your product, service, or brand. Shoppers need images as they are easy to digest.
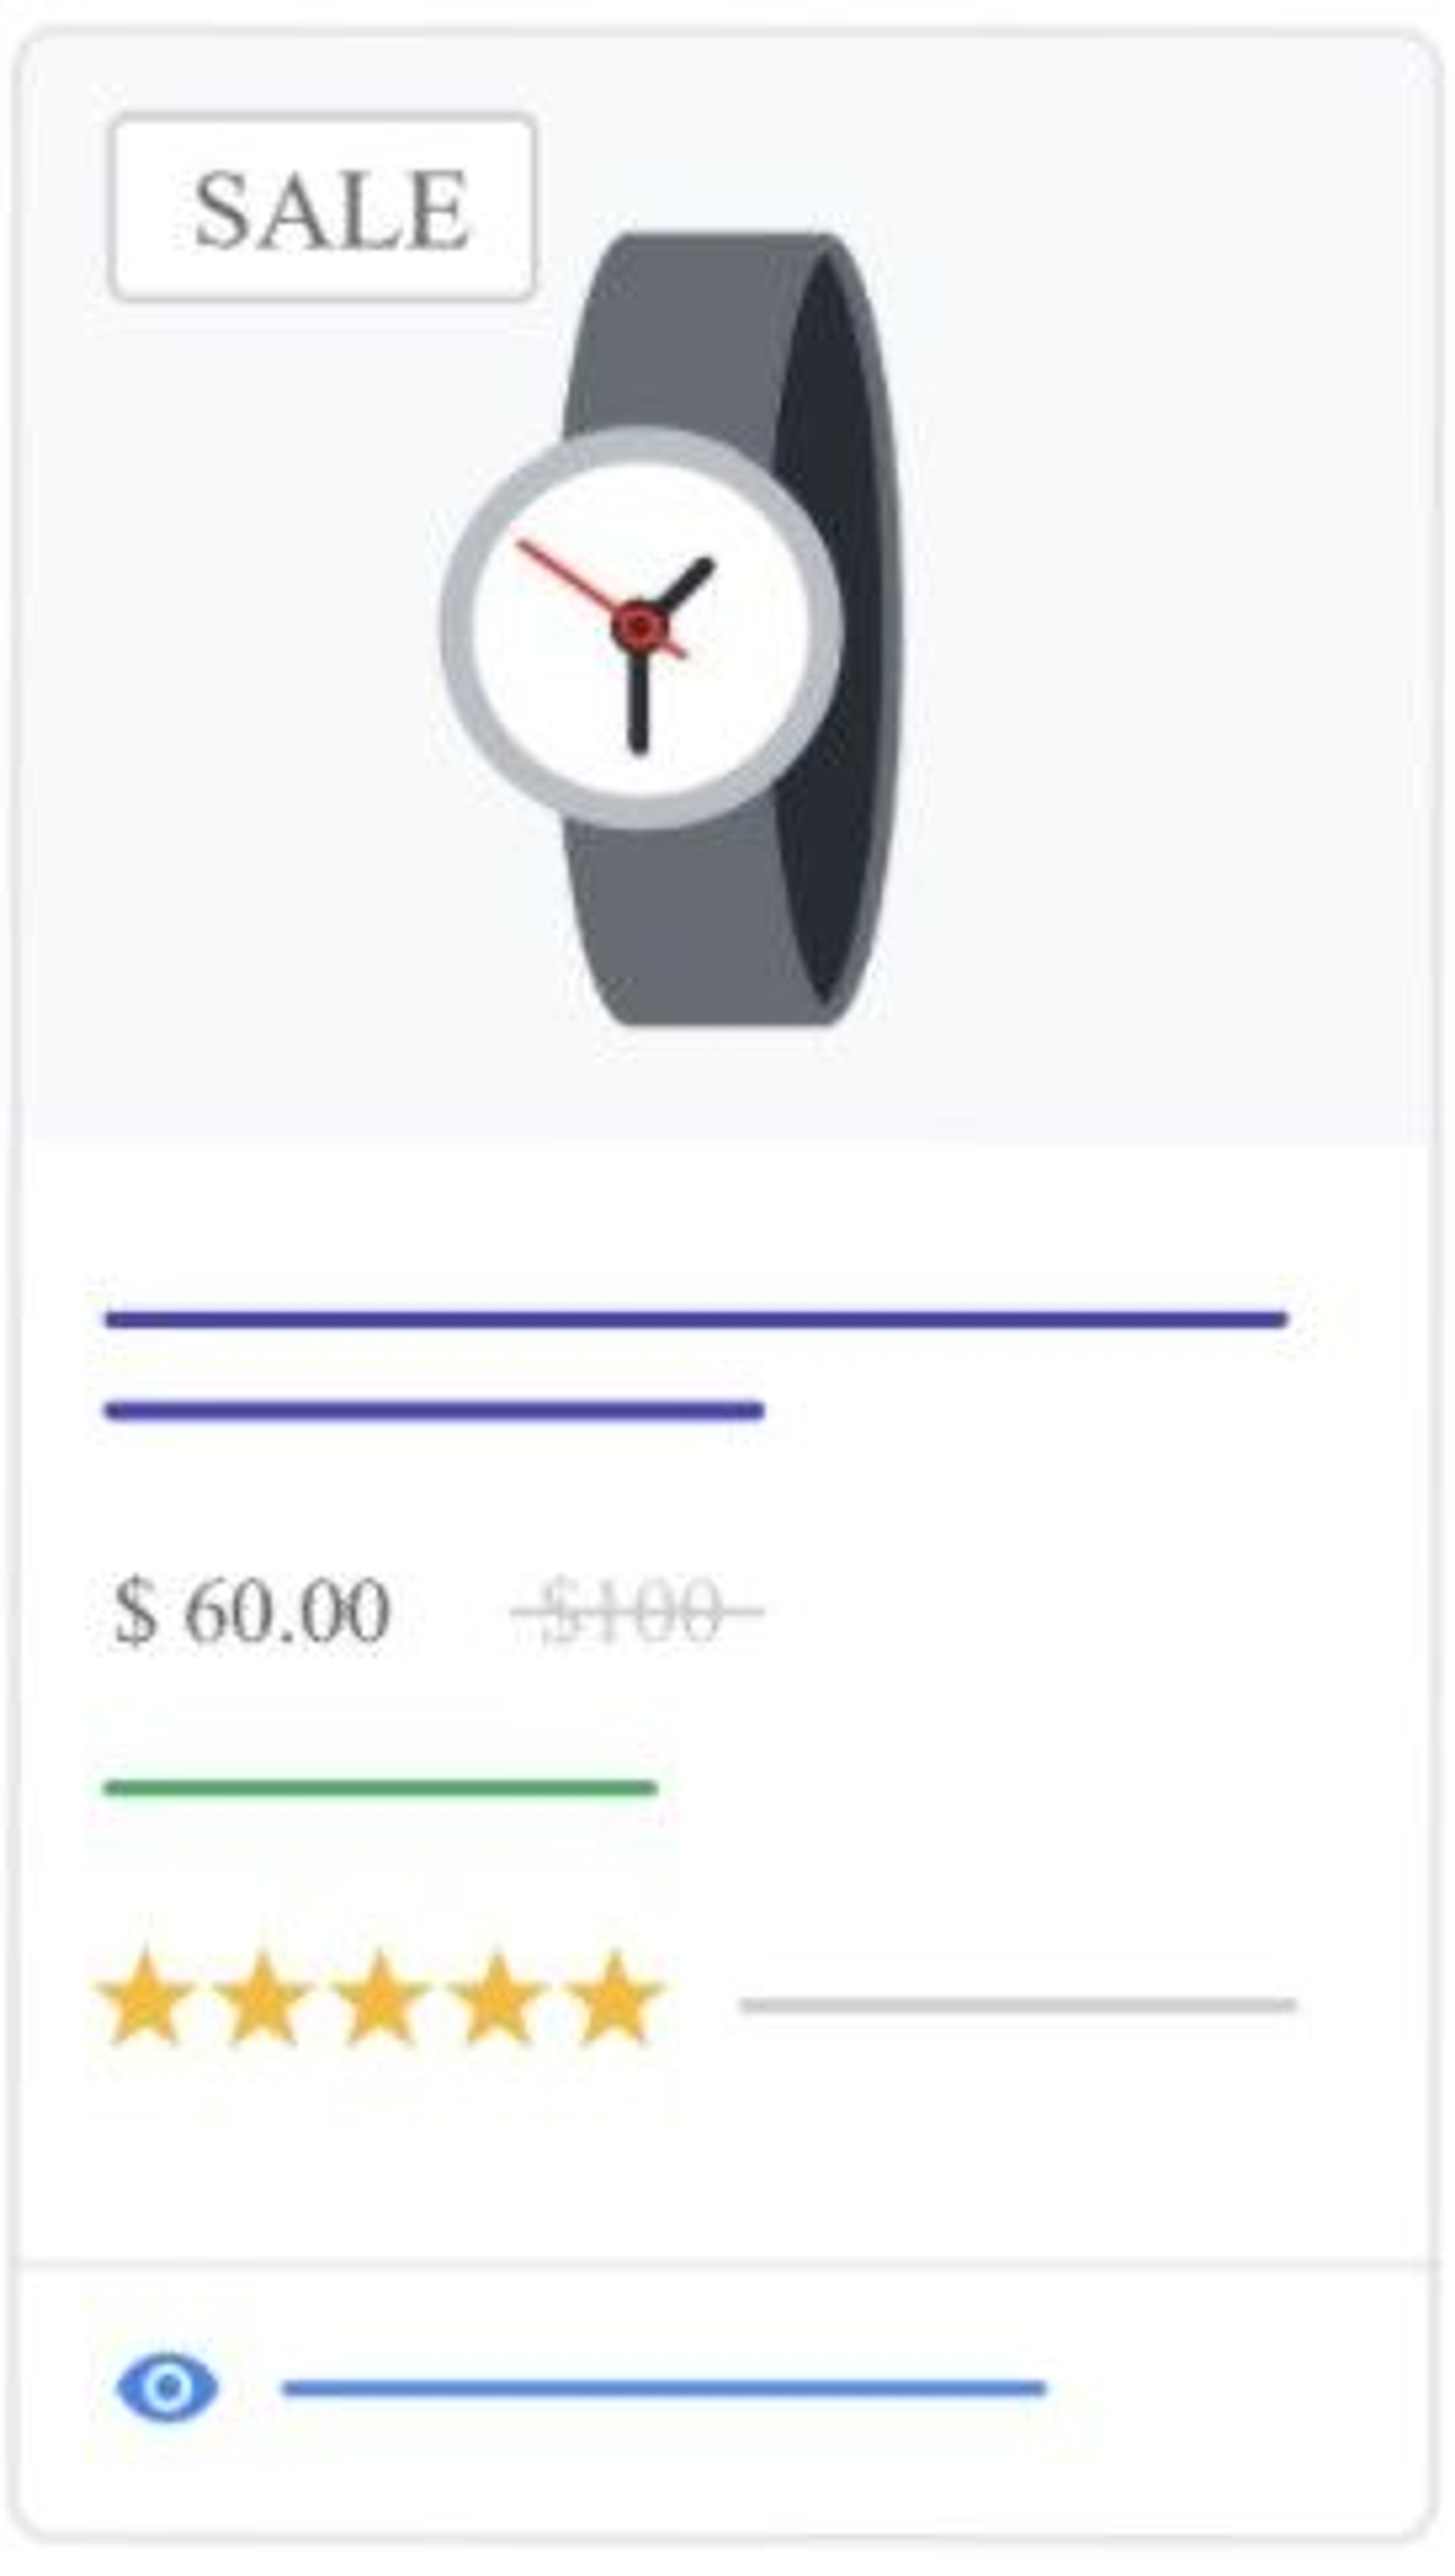
The sale_price attribute. You can add a sale_price attribute for discounted products. These products will be marked with a badge that highlights your current sale. The sale price will be displayed and the regular price will be crossed out. In some cases, the discount percentage may be shown instead of the crossed-out price. The specific colors used for annotations differ depending on where your product appears.

The size_system attribute can be helpful in case you target several countries or a country where it makes sense to consider systems of different sizes. This information helps to create accurate filters, which users can use to narrow their search results.
If you don’t include a size type, the system will use regular as default. If that is not the right size type, then users will be misled, which could affect your sales. The product_highlight attribute provides short bulleted lists of the most relevant highlights of your products. The product_highlight should provide easily consumable, quick to scan sentence fragments for shoppers that either answer the most common consumer questions or focus on the most important attributes of the product

The custom_label attribute. This is the attribute you will recognize in your Shopping campaign. The value won’t be shown to your customers when they see your ads and free listings.
You can submit up to five custom labels per product by including this attribute multiple times:
- custom_label_0
- custom_label_1
- custom_label_2
- custom_label_3
- custom_label_4
This allows you to create specific filters to use in your Shopping campaigns. These filters are helpful for the reporting and bidding on groups of products.
Also, you can still test your competitors’ traffic through Shopping by simply just adding text such as “Such companies as xx, xx, xx, xx.., may also have such products but don’t miss this opportunity to try our high-quality products”.
In this way, you will not “hurt the feelings” of your competitors, but you will let the system consider your competitors’ names as triggers to show your Shopping Ads when someone searches for them instead.
1.3. Product title optimization.
Product titles should be optimized so that they include the most commonly used search terms to increase relevance. Titles shouldn’t be too long and should simply name the product.
The ad description should contain the most important product information. You can use additional space and fill it with other relevant info – this will positively affect the relevance and quality of your content.
1.4. Update your feed daily.
Make sure you update your feed every day to avoid facing problems with moderation as these can prevent your ads from showing in many auctions.
Double-check your website crawls status under the diagnostic tab in the merchant account. If you face any problems submitting this form, wait at least 72 hours, as it can take up to 3 days to check your feed.
Also, make sure that you set a schedule that will constantly resubmit your feed once there are any changes; otherwise, you could be banned in time.
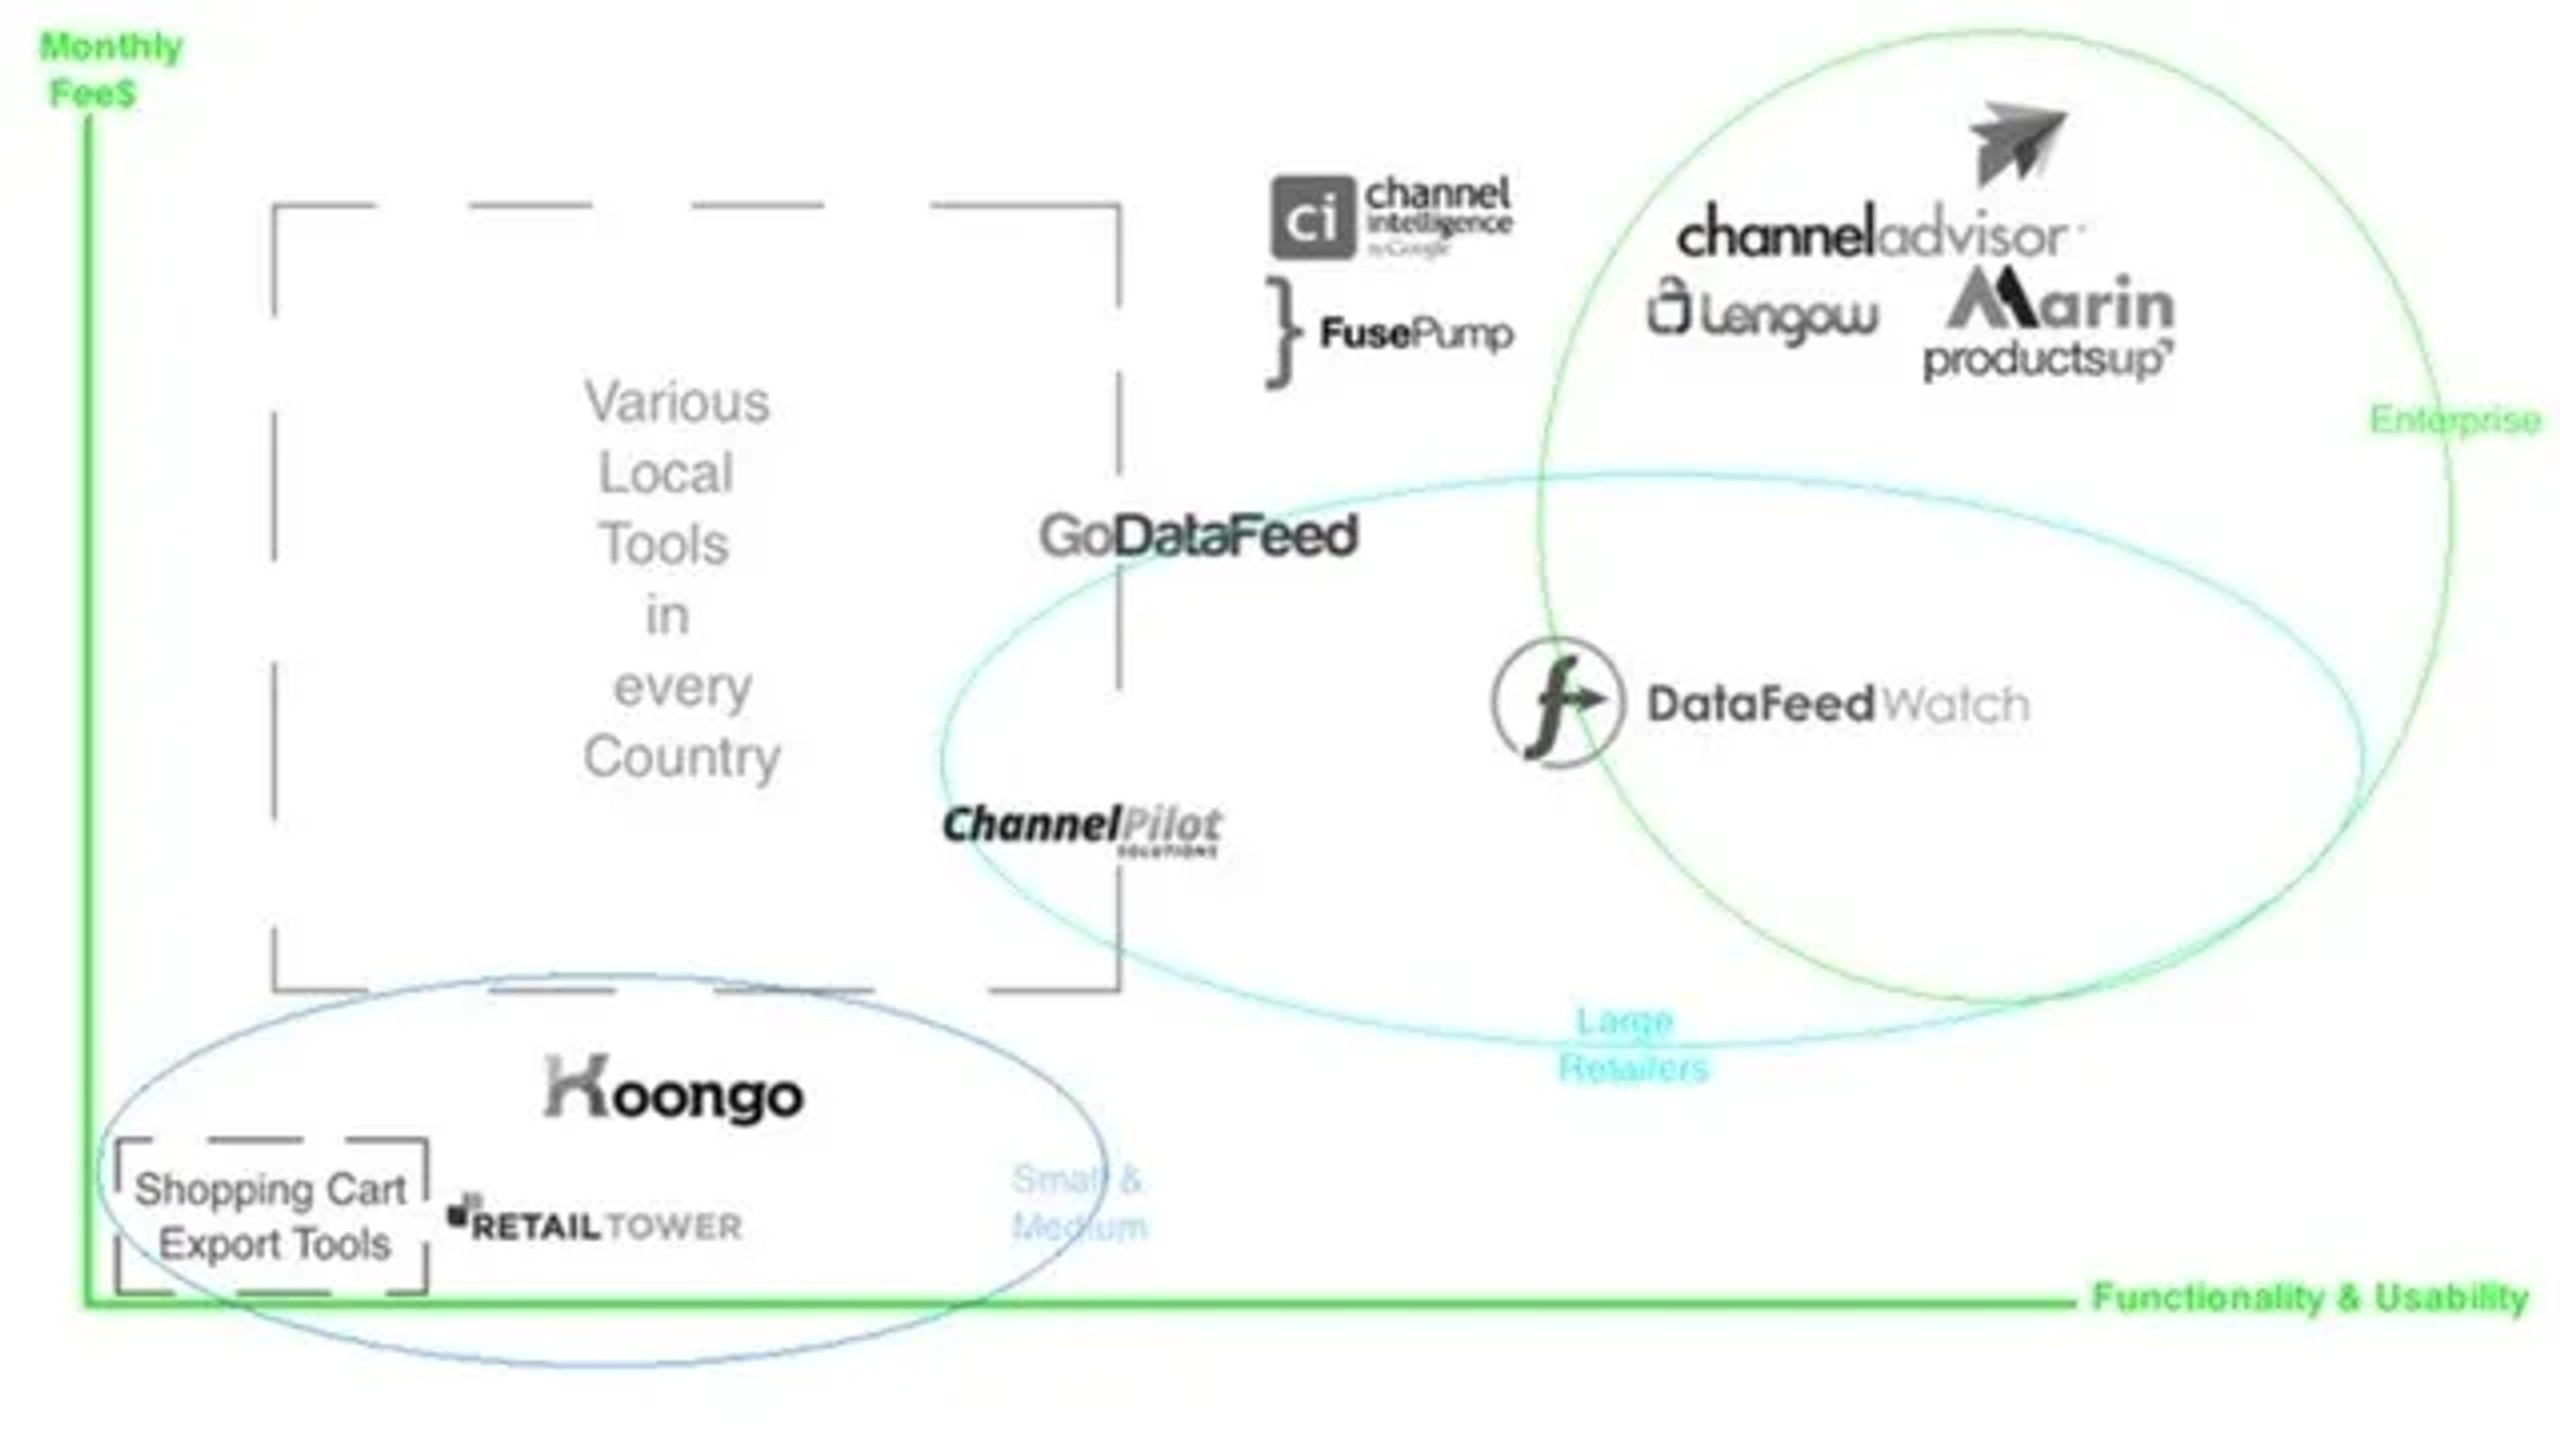
Nowadays, there is a big variety of tools that can help you make your advanced product feed – for example, DataFeedWatch, Lengow, Wakeupdata.

The comfort of the interface and the many functions allow the creation of additional fields and the expansion of current fields of your product feed without help from a developer.
2. The Structure of Google Shopping Campaigns
The following describes several approaches and the logic behind them so that you can better understand which approach may work better for your particular needs. – Test both Smart Shopping Campaigns or 1-3 Smart Shopping Campaigns at the same time. A Smart Shopping Campaign is the simplest way to launch your first Shopping Campaign and gives you an opportunity to use machine learning to improve your results. At the same time, in case you have a large variety of products with different price ranges, Smart Shopping can be unprofitable in terms of ROAS as this campaign type may push your cheap products more than your more expensive products.
If this is the case, you can simply divide your products and split them between 2-3 (etc.) Smart Shopping Campaigns.
This will help to gain more control over the budget, so that you can, for example, set a lower budget for the campaign where you advertise your cheap products and a higher budget for the campaign with your top products. – Test Low / High Structure. When you use this approach, you will run two Shopping campaigns at the same time. For one of your Shopping campaigns, you should set high priority and run it with super-lower bids and a high budget as well as exclude brand traffic from it. For your other Campaign, you should set low priority, high bids, and even higher budget as here, you’ll obtain most of your relevant traffic, for example when someone searches for your brand or the brands you promote. In this way you won’t miss most of the auctions but will be more flexible to show Ads for your relevant search queries with higher bids rather than overspending when someone is searching for something by using really broad search terms.
3. Make sure that you spend budget in a smart way and achieve good coverage of your TOP segments
There are two simple ways how you can achieve this:
1) Increase bids for product groups with the highest conversion rate and high IS lost because of their rank.
The problem is that sometimes, more aggressive bidding can lead to increased traffic from general search terms while your primary search terms will still have high impression share loss because of their low rank. That is why we are usually increasing bids for product groups that yielded good results.
2) Reallocate traffic to products that are yielding better results by checking the reports of product groups.
It is quite common that people don’t really buy products they clicked but choose something different from your website. So, checking the product report inside your campaign can show you if there are any products you should move to a separate TOP Campaign.
3) Use negatives in Shopping Campaigns.
When a search term has a low conversion rate in the “High” campaign, add it as a negative keyword inside this campaign. If it does not convert into “Low”, add it as a negative keyword on a shared library level.
Importantly, in case you found some irrelevant searches and need to exclude this traffic completely, you should add them as negatives, but make sure you excluded them from the following two campaigns: Low and High (as well as on a shared library level). If you exclude this traffic from High only, this may still cause a problem for your other campaign.

