Shopify & Facebook integration: Step-by-Step Guide
Posted on 11/17/2023
Reviewed by Arnt Eriksen updated at 12/6/2023
Introduction
Shopify is one of the most popular e-Commerce platforms. It’s easy to use, scalable and comes with plenty of useful features out of the box. Facebook, on the other hand, is one of the biggest ad platforms in the world.
Globally, it is estimated that over 2 billion people use Facebook. What this translates to, is that many businesses can gain visibility and earn money if they are showcased to this massive audience via ad campaigns.
Integrating Facebook Pixel with Shopify should be a major boost for the businesses involved. It makes Facebook conversion tracking possible and subsequently, an increase in sales happens. However, many Shopify store owners face confusion when it comes to integrating Shopify with Facebook.
What is Facebook Pixel?
Facebook Pixel is also known as Meta pixel. It is a piece of tracking code(Facebook pixel code) that is generated from your ad account and fixed to the header section of your Shopify store’s website.
The Shopify/Facebook Pixel integration can help you boost your online advertising by measuring, optimizing, and building a target audience for your ads. There are various benefits of using Facebook Pixels.
If you are interested in doing the same for your Google Ads, check out our article on Shopify GA4 ecommerce tracking implementation.
Meta pixel optimizes your ad campaigns for conversions
One major goal of promoting a product/service is to show it to a demographic of online store visitors that will take the required action that you need them to, and increase your conversions. The data gathered by the Facebook pixel will allow advertisers to target their audience to engage with your product or convert. It helps to display ads in a better way.
Retargeting using dynamic product ads
Not every user browsing your store will end up giving you their hard-earned dollars. You can capture store visitor activity for your dynamic product advertising campaigns. It will be possible for Facebook pixel to assist with this job. It helps you run retargeting ads by capturing information about visitors clicking on the product or adding it to their cart but not finishing the purchase.
You'll be able to use the Meta pixel to show people exactly what they have left in their abandoned carts to attract their purchases.
Before adding a Facebook pixel to Shopify, there are certain tips to know. This article provides a step-by-step guide on how to integrate Facebook and Shopify.
Before you start, make sure you have the following access:
- Store owner permissions or general 6 permissions for the Shopify store
- Access to the Facebook Business Manager and the Facebook page
- Admin access to the Facebook page you want to advertise.
How to set up a Facebook Shopify app (it's free)
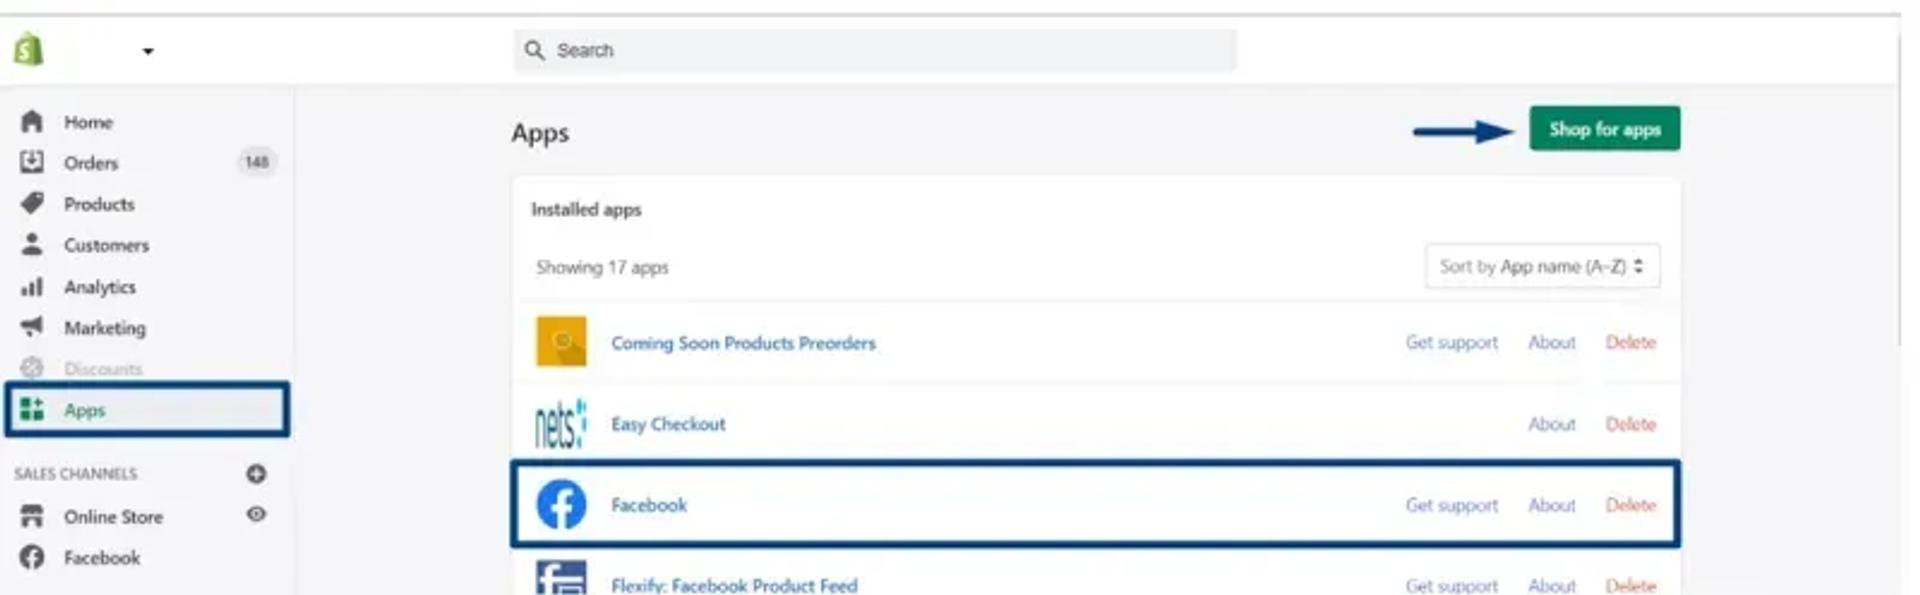
1. Go to Apps → Facebook. If you don't have a Facebook app in your Shopify yet, go to Shopify's app store and install it:
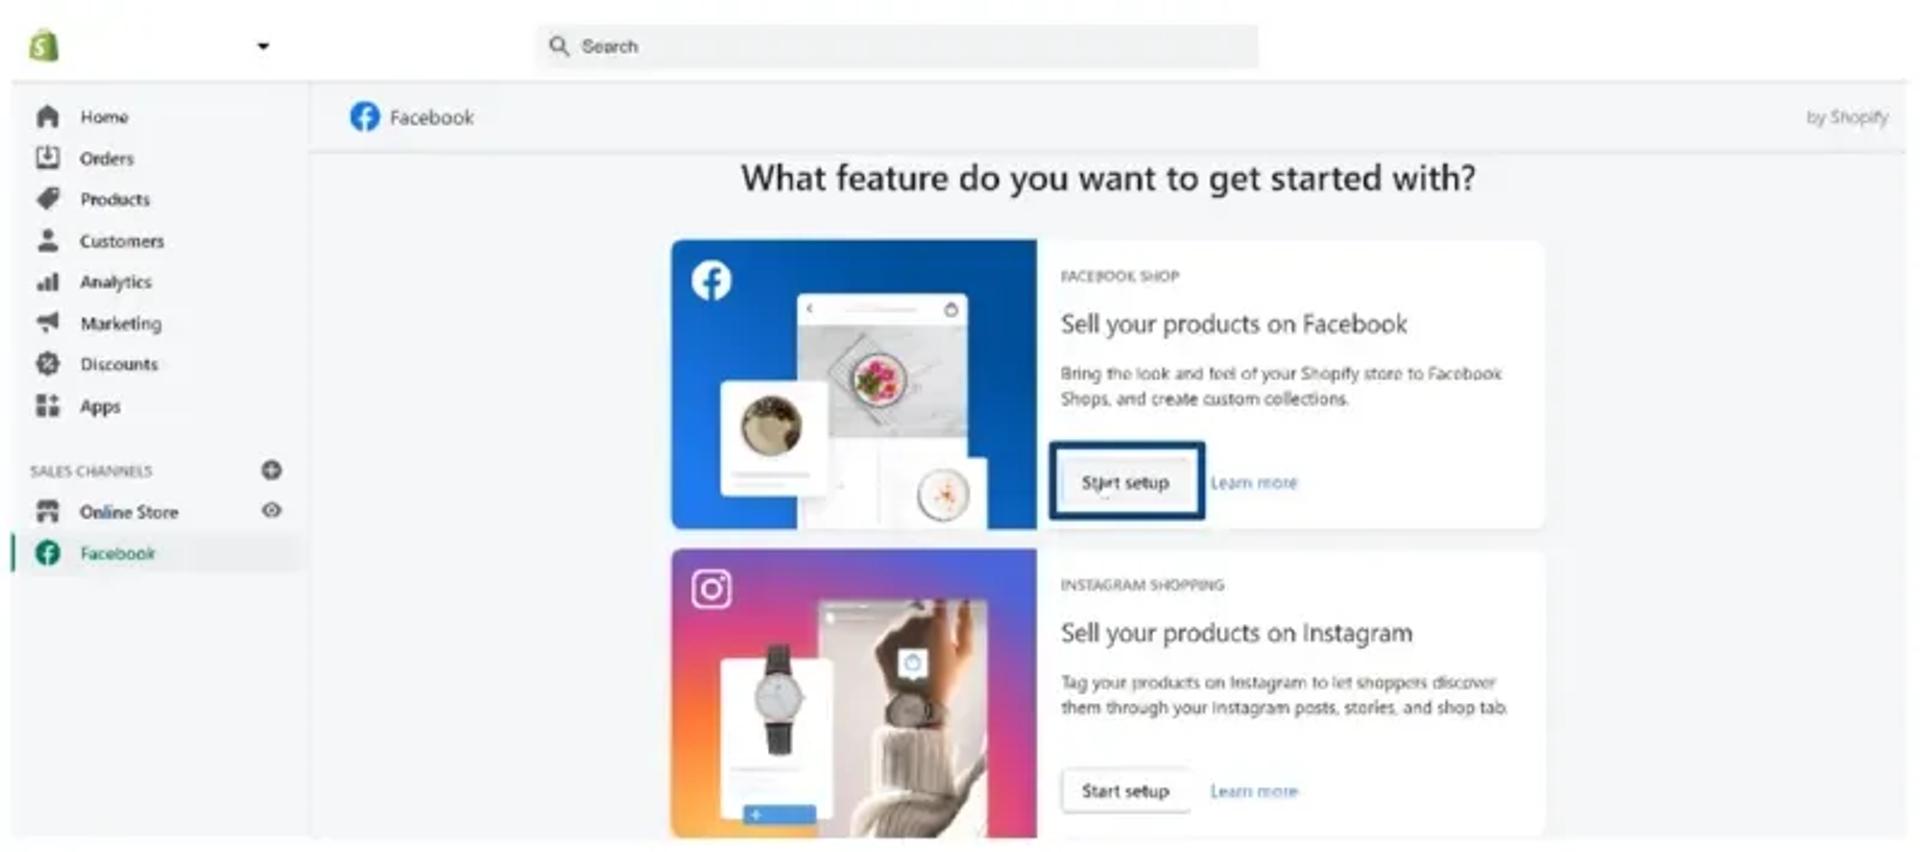
2. Navigate to your Shopify app:
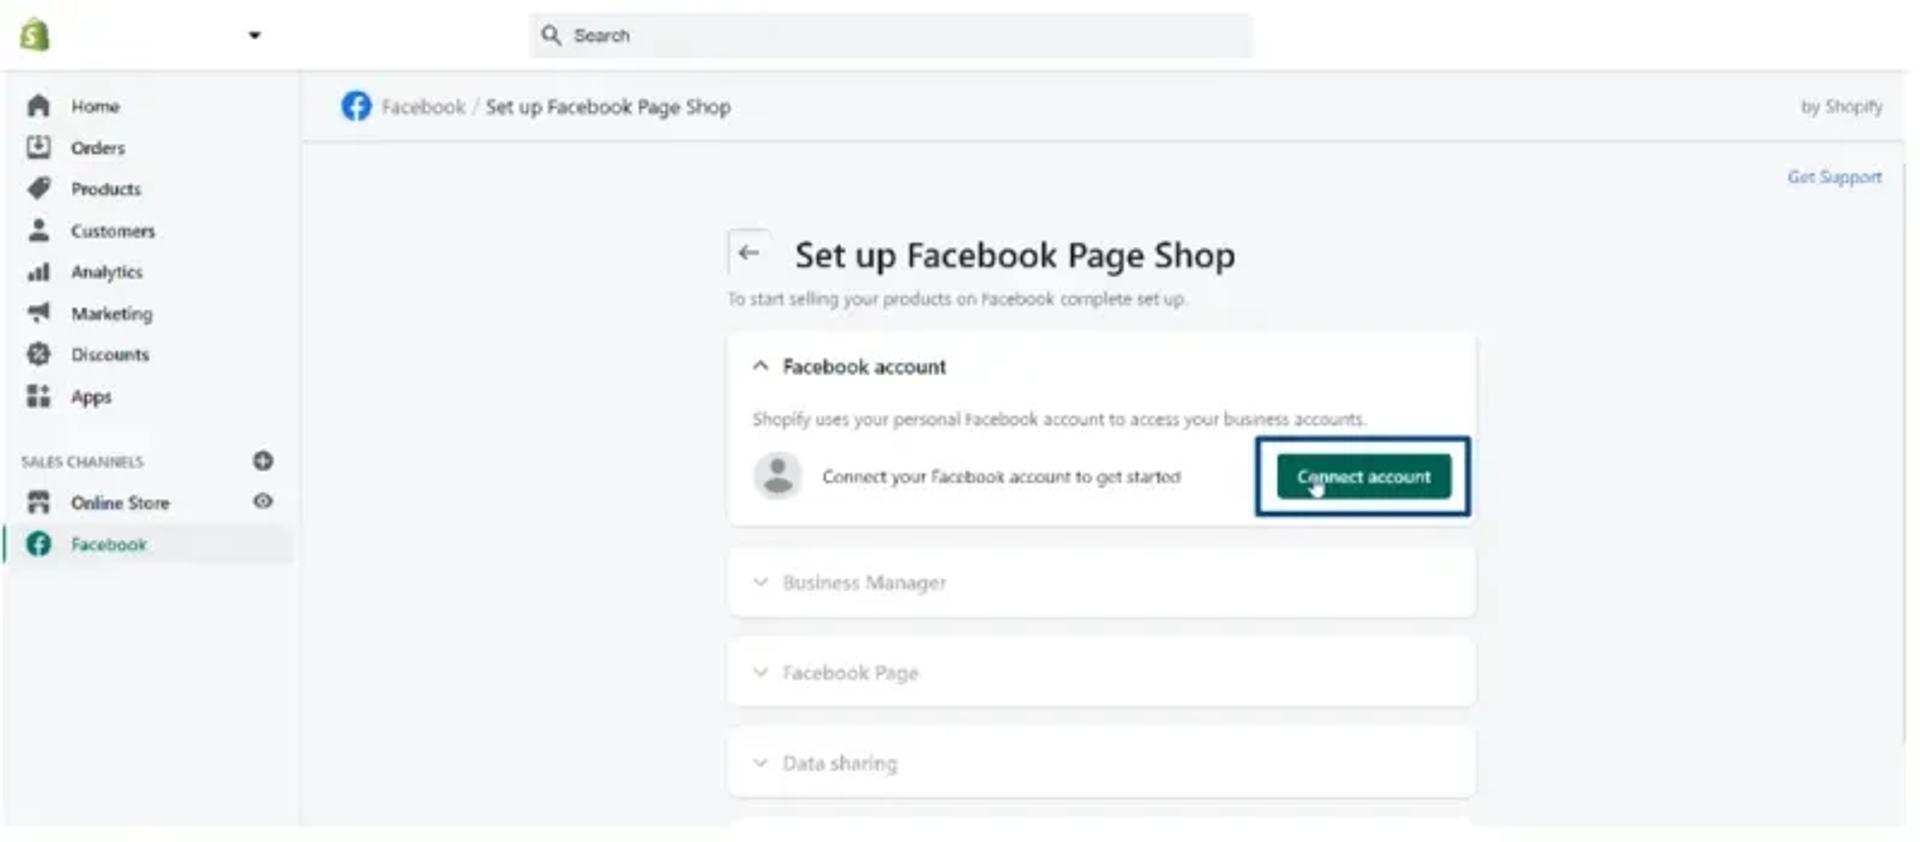
3. Connect your Facebook account:
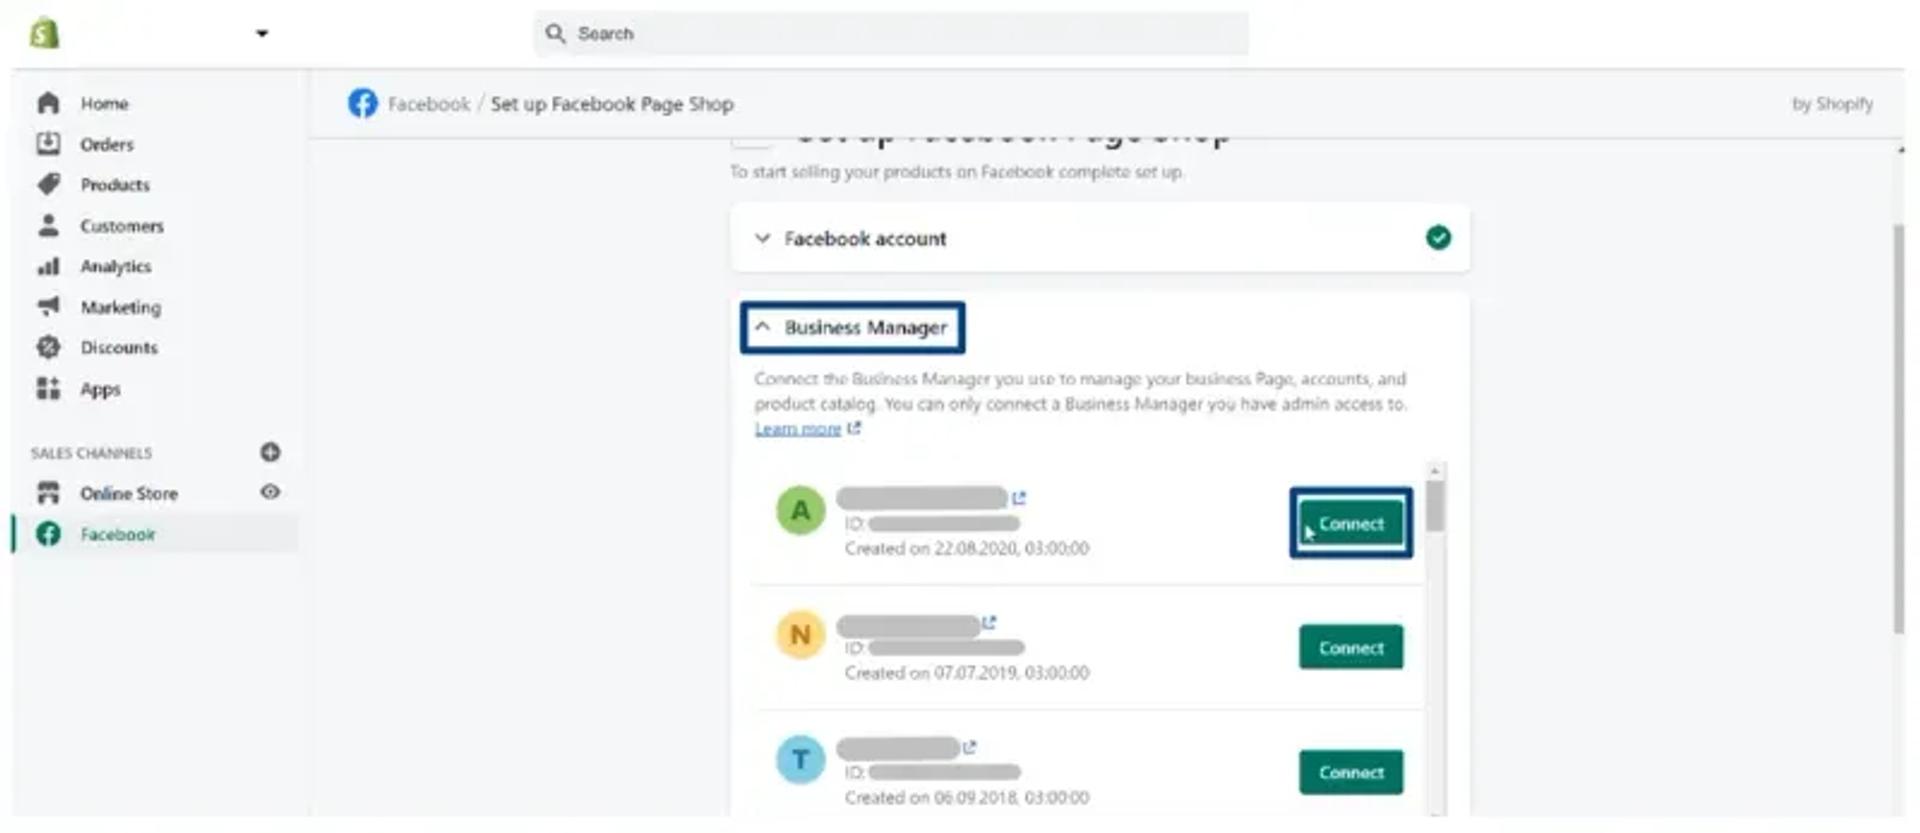
4. Go to Business Manager and connect a relevant Business Manager:
Getting Started
Create Facebook Ads Account
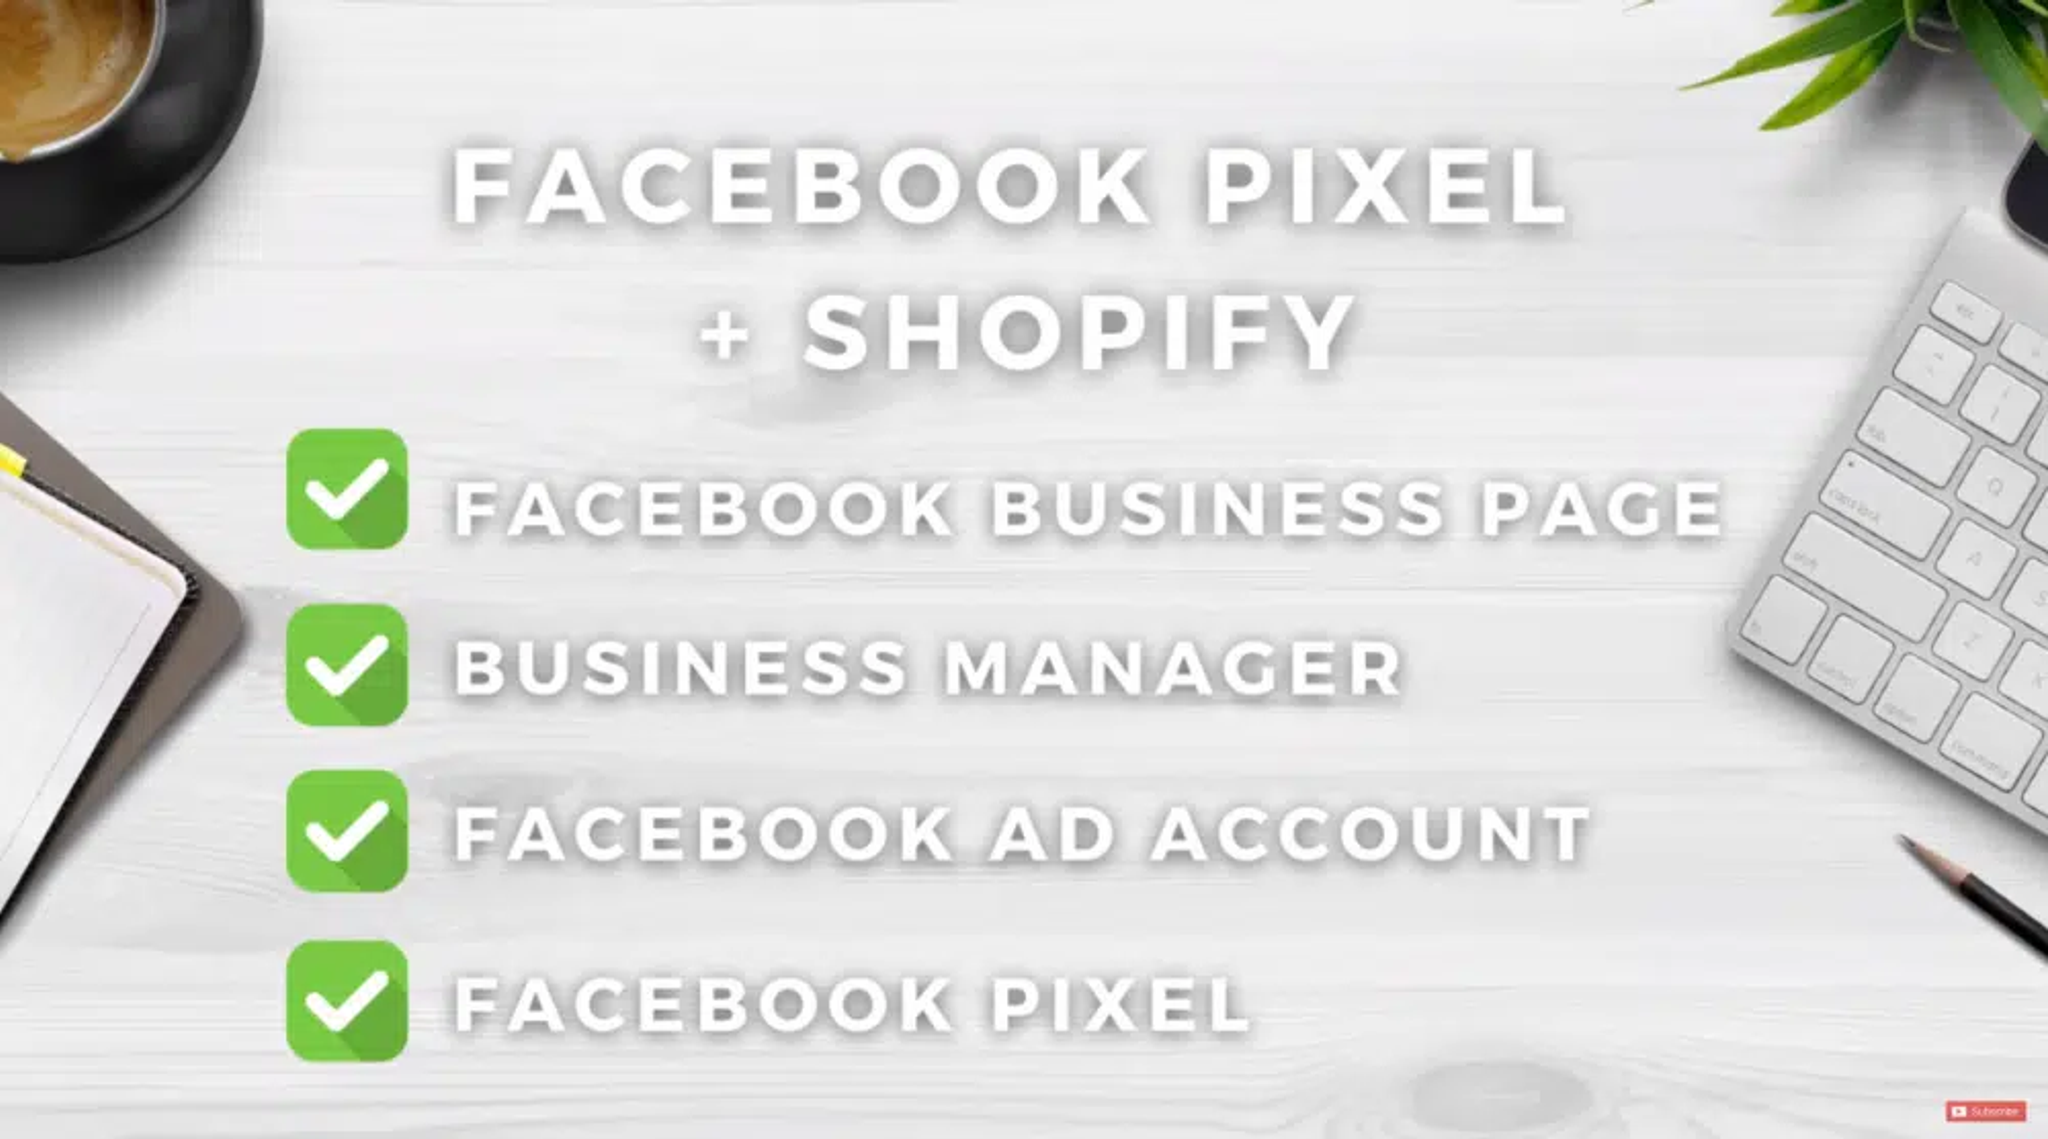
Before we go into the nitty-gritty of adding a Facebook pixel to your Shopify page, you need to create the following first.
- A Facebook business page
- Business Manager
- Facebook Ad Account
- Facebook Pixel
Before creating your Facebook pixel, you need to visit the Facebook Ads Manager. To do that, type the website URL business.facebook.com/adsmanager in your browser. This will lead you to your ads account.
On the Facebook Ads Manager
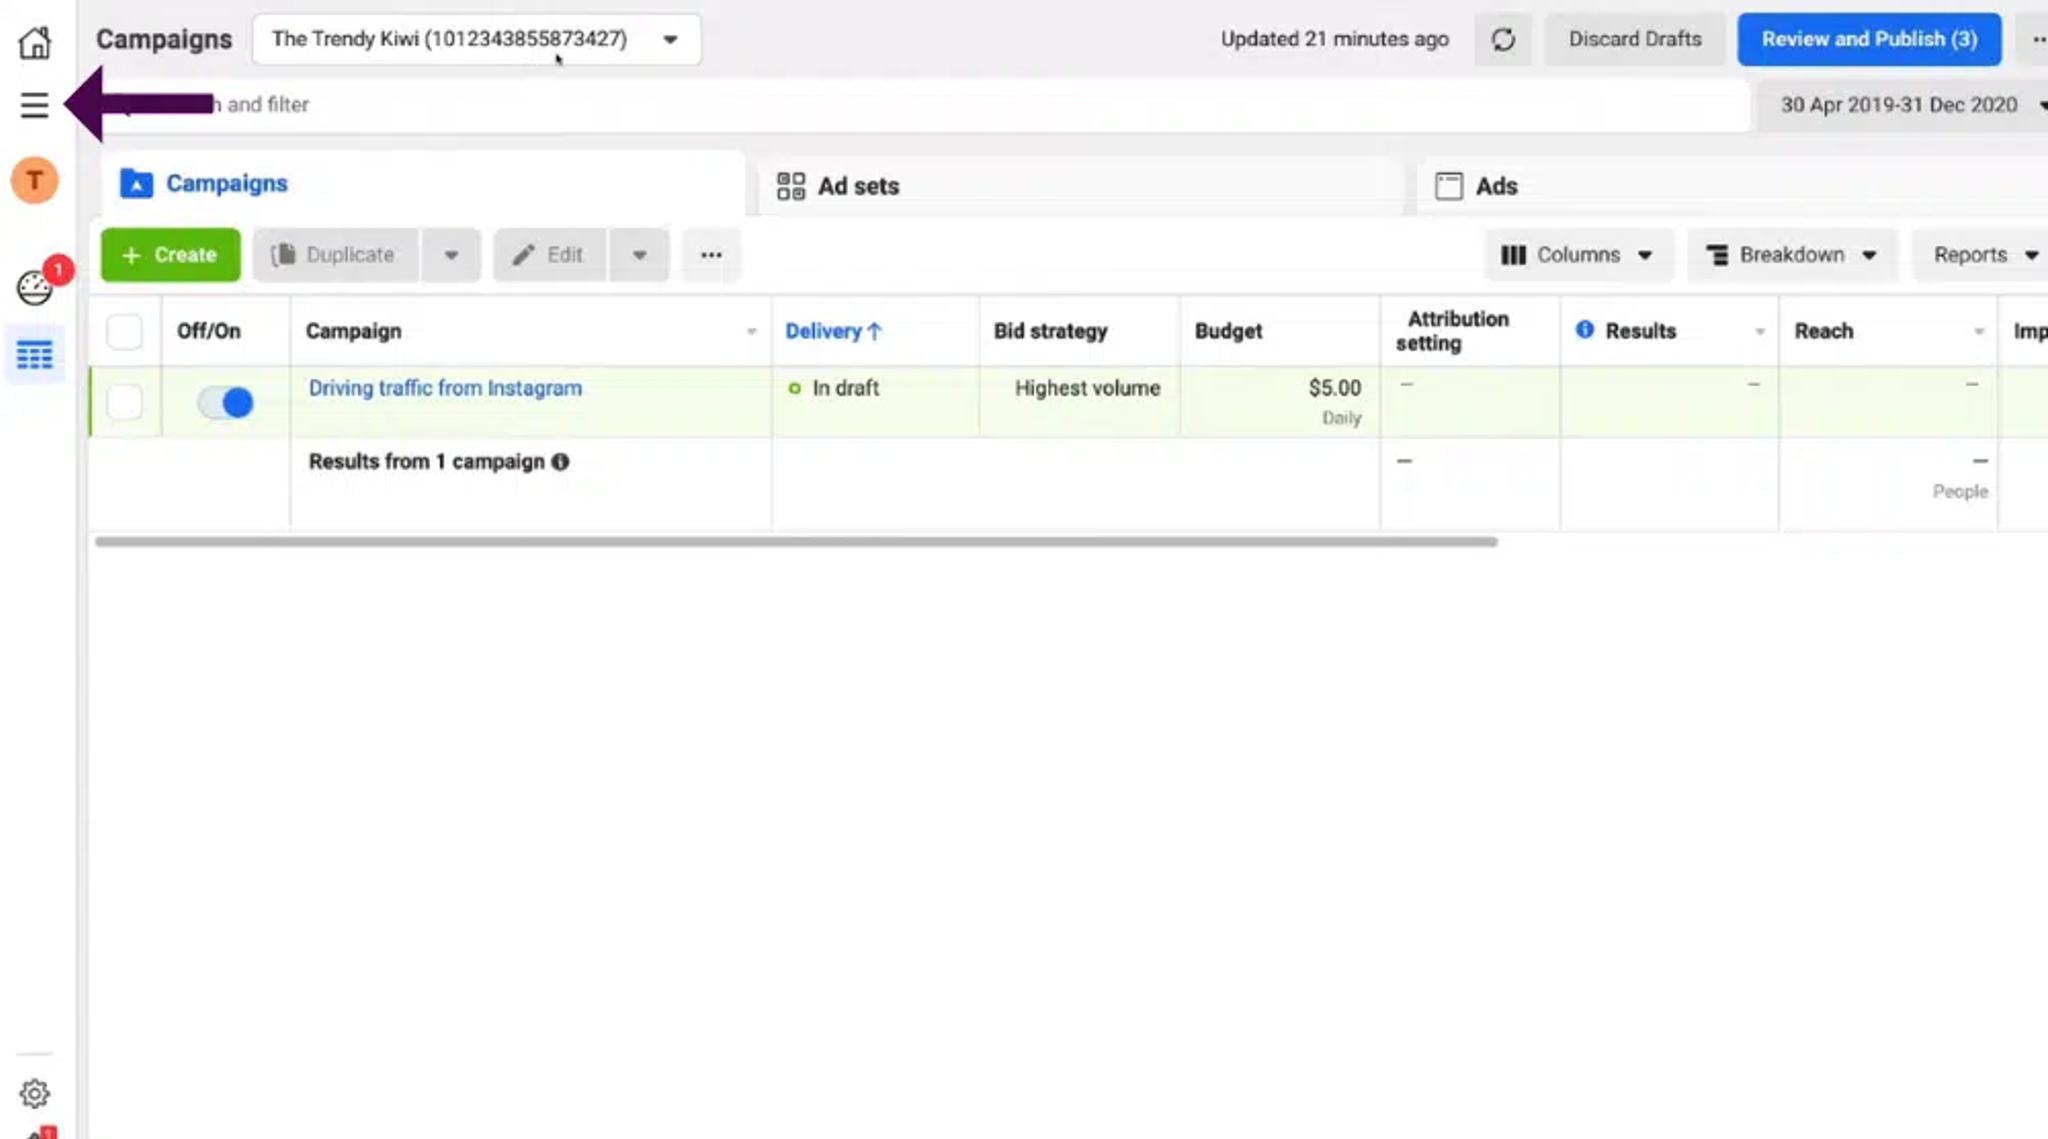
- Next to ‘Campaigns’, you’ll see your ad account at the top-left corner;
- Make sure you have the right account selected;
- Click on three horizontal lines below the home icon on your left. That will open up a menu;
- Tap on the ‘All tools’ button;
- You'll find the 'Events Manager'.
This is where you can create and manage custom Facebook pixels.
Create your Shopify Facebook pixel
The Facebook Pixel is created and managed in the Facebook Ads Manager dashboard.
- Go to the Facebook Ads Manager website;
- Navigate to the Pixels section of the website by opening up the menu and clicking on Events Manager > Pixels;
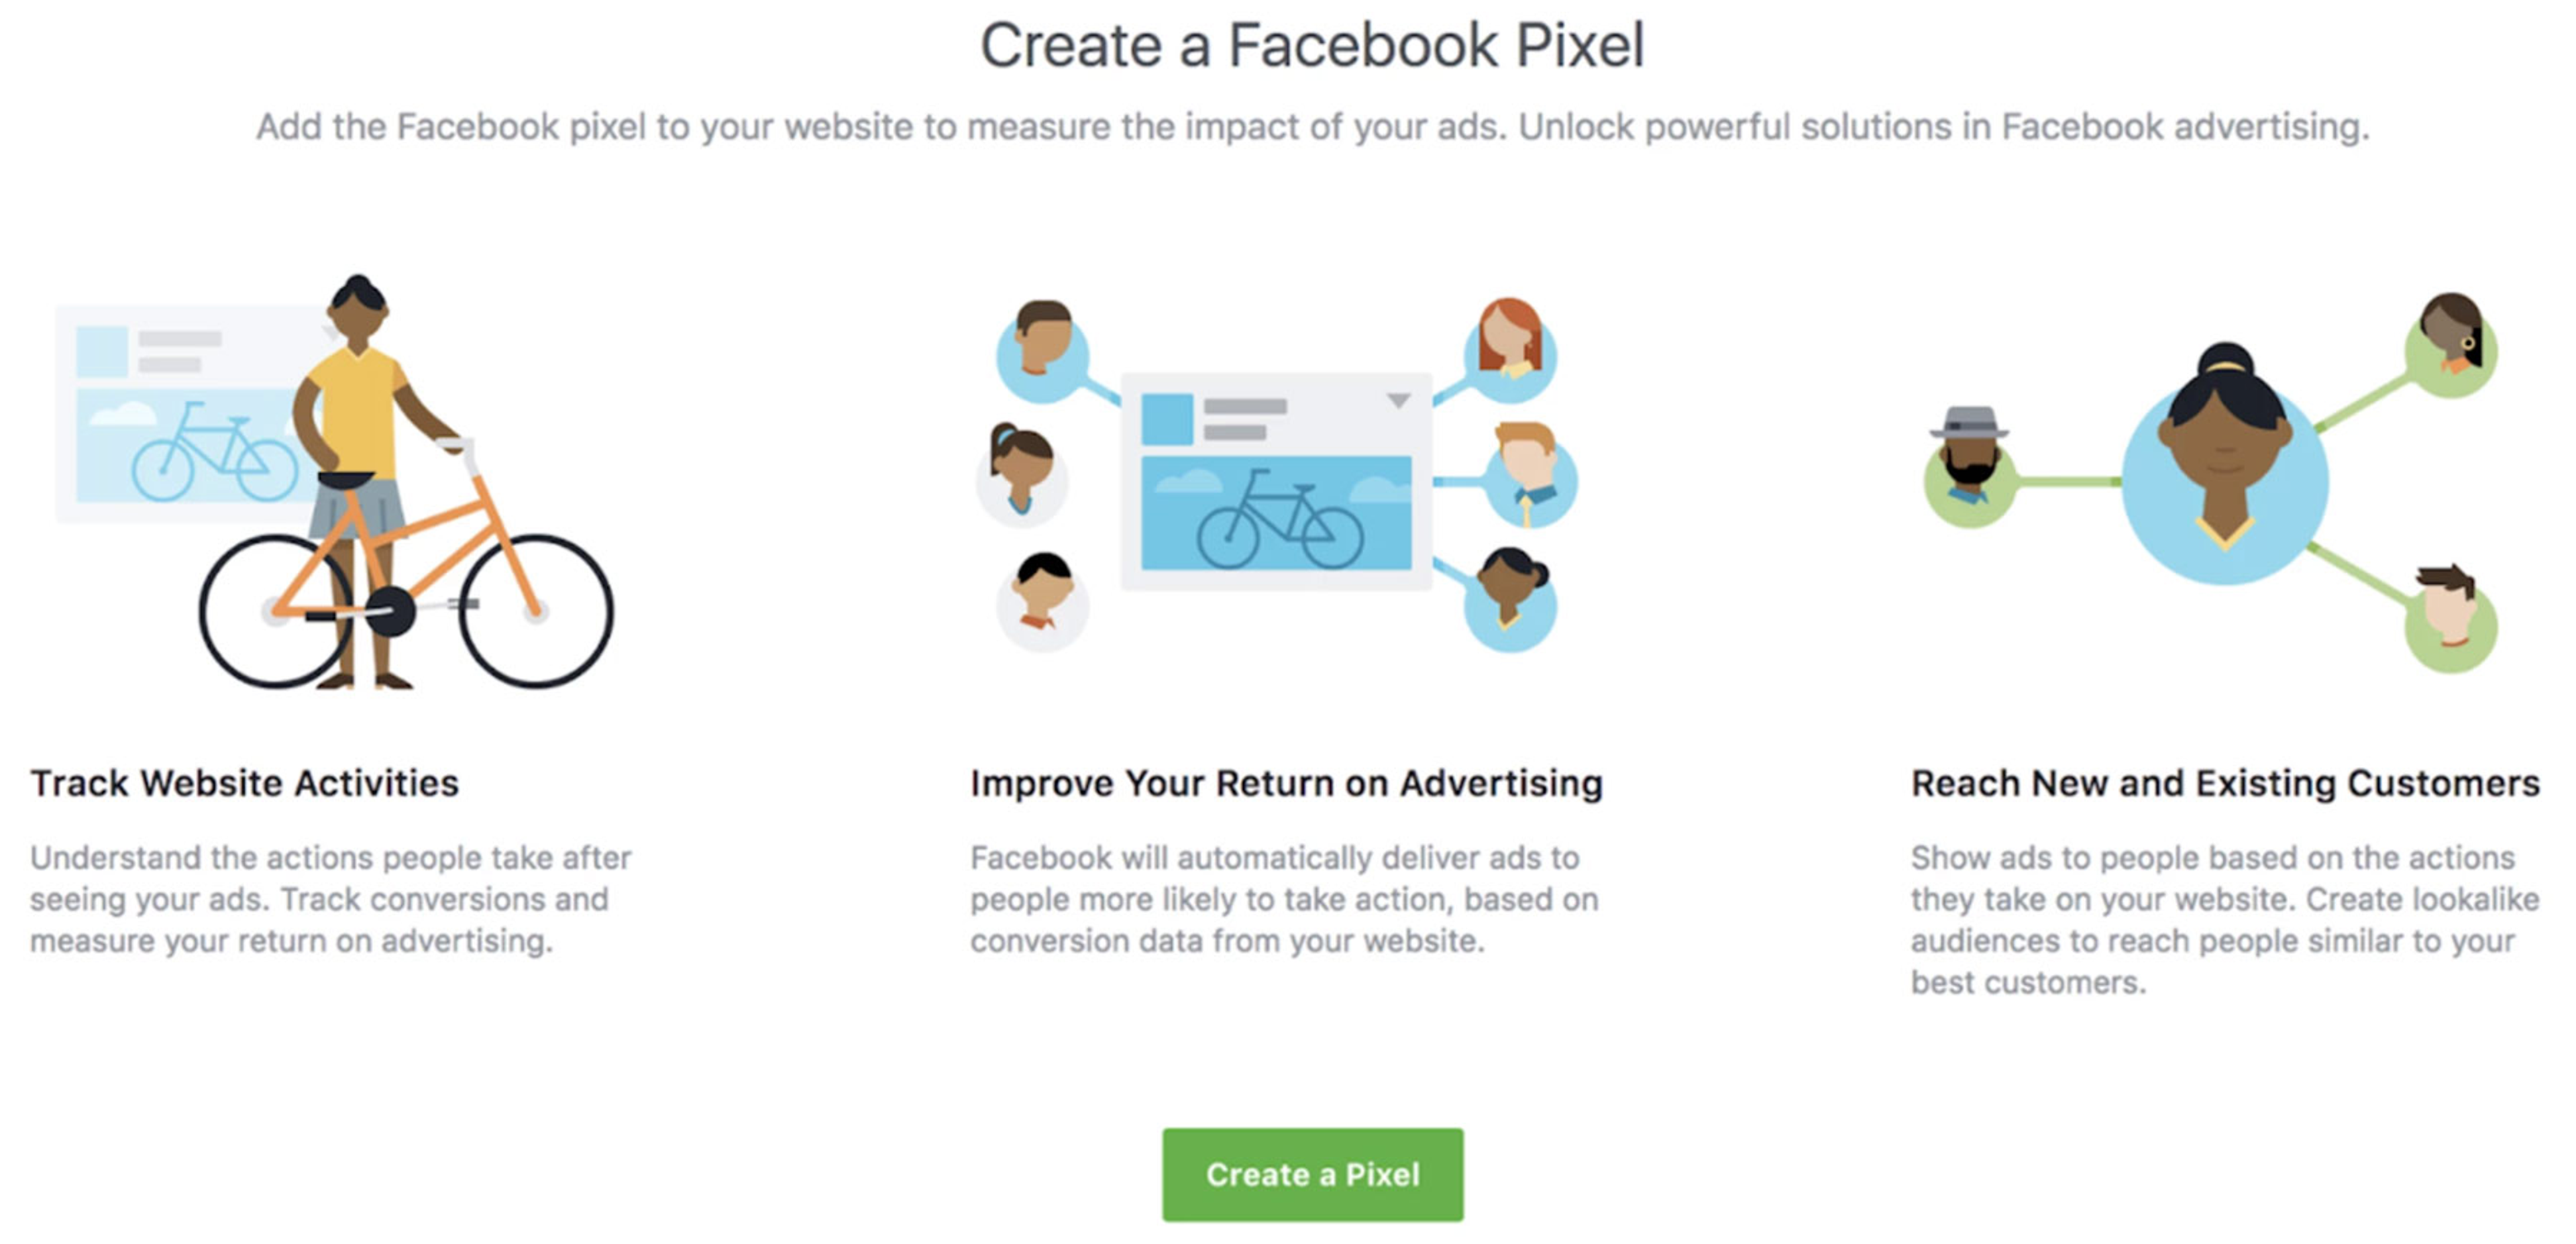
- Click on create pixel;
- Give your pixel a name and click Continue;
- When prompted with the Install Instructions window, go ahead and follow them.
When you are done with these, you have created your Facebook pixel and can proceed to connect it. You now have your meta pixel installed.
How to add your Facebook Pixel ID to a Shopify store using Shopify Integration.
To simplify this, I have outlined a simple process for finding and using Facebook Pixel.
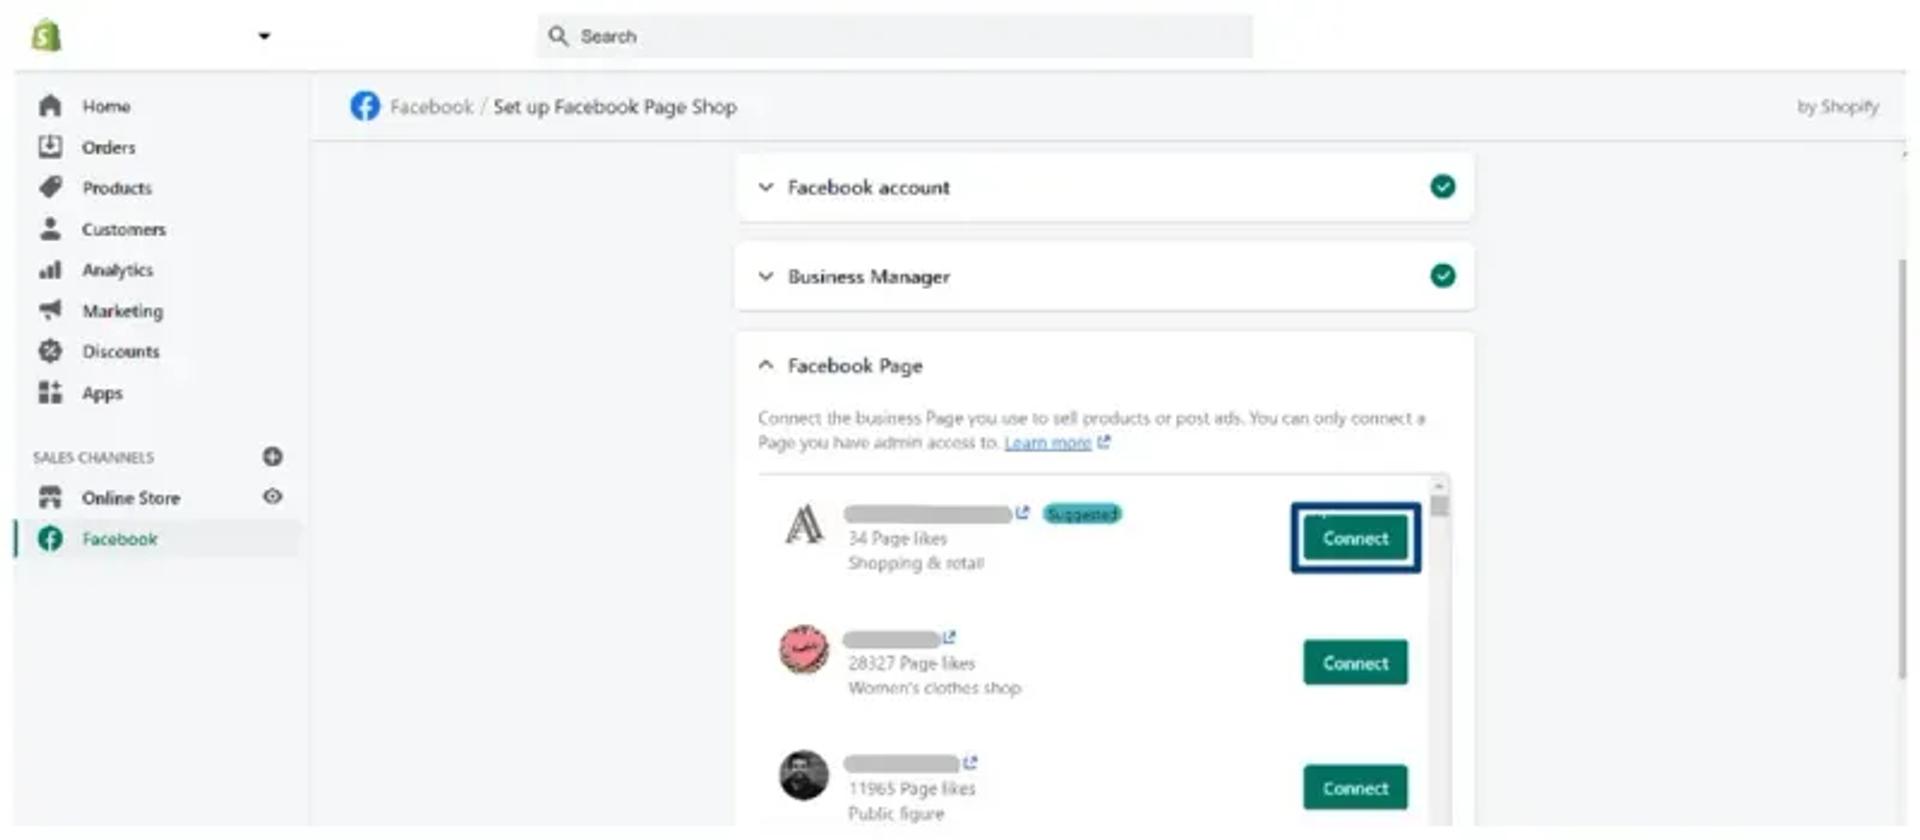
1. Go to Facebook Page and choose the relevant Facebook page:
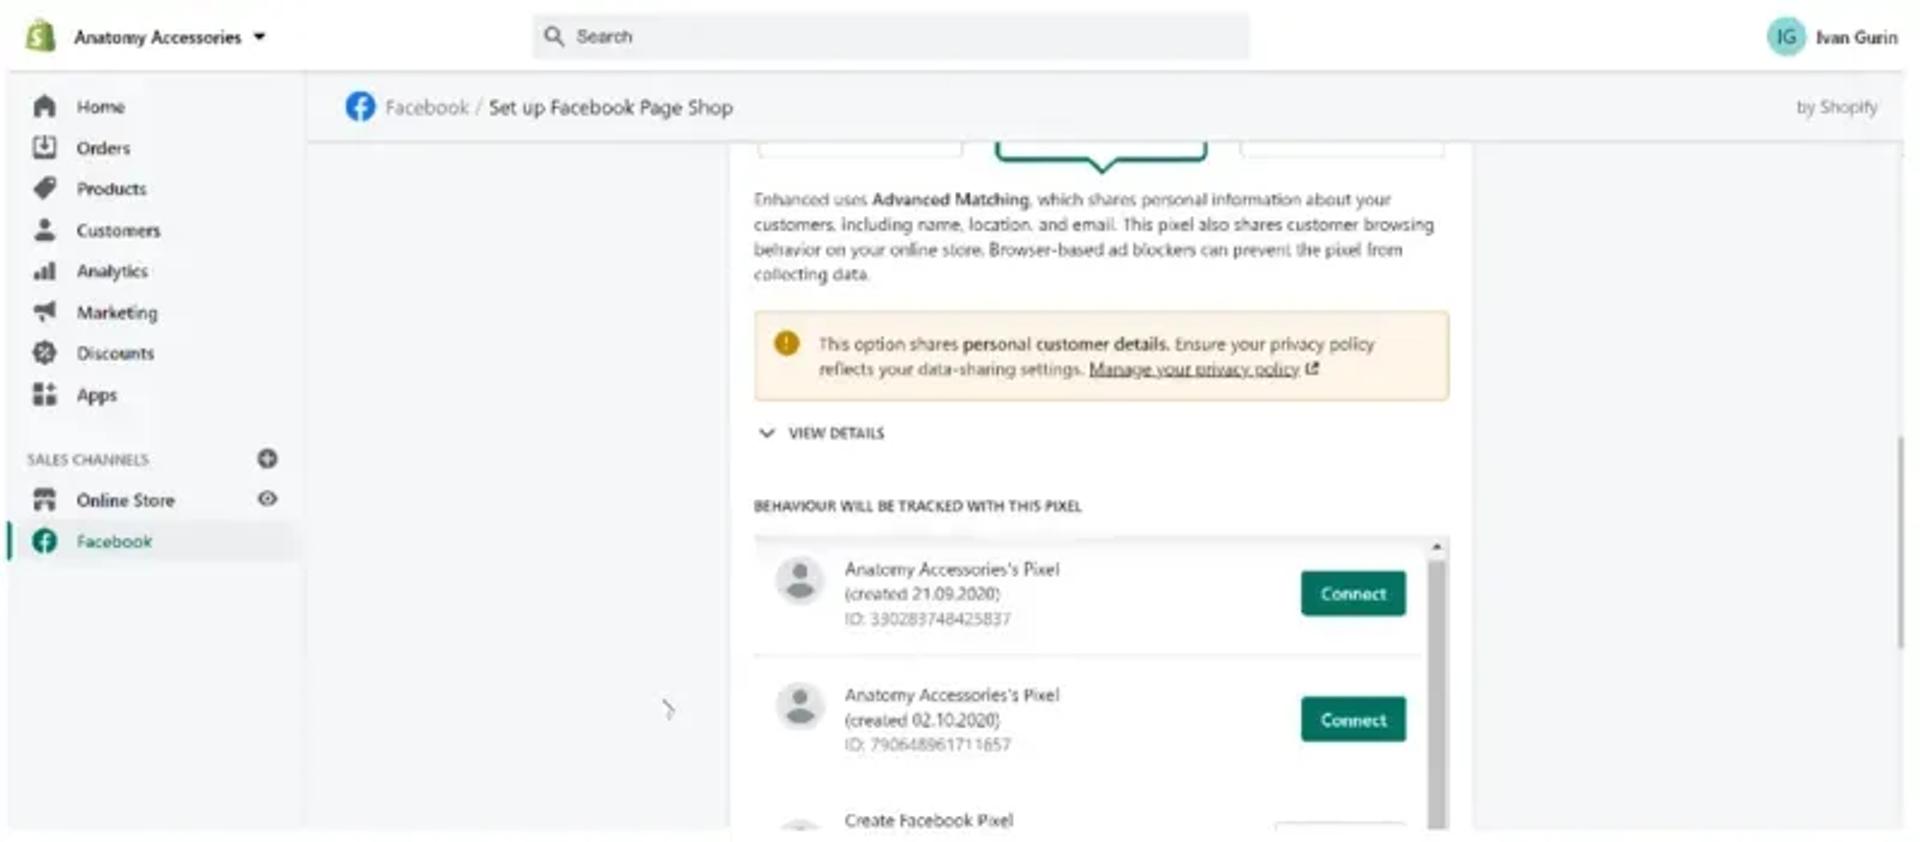
2. Click data sharing settings and toggle enable data sharing . Choose the level of customer data sharing. You can learn more about this here:
3. Choose the relevant Pixel and press “Connect”. If you have not created the Pixel yet, you can learn more about this here.
Important: once the Pixel has been created, you should connect it to the ad account and catalog.
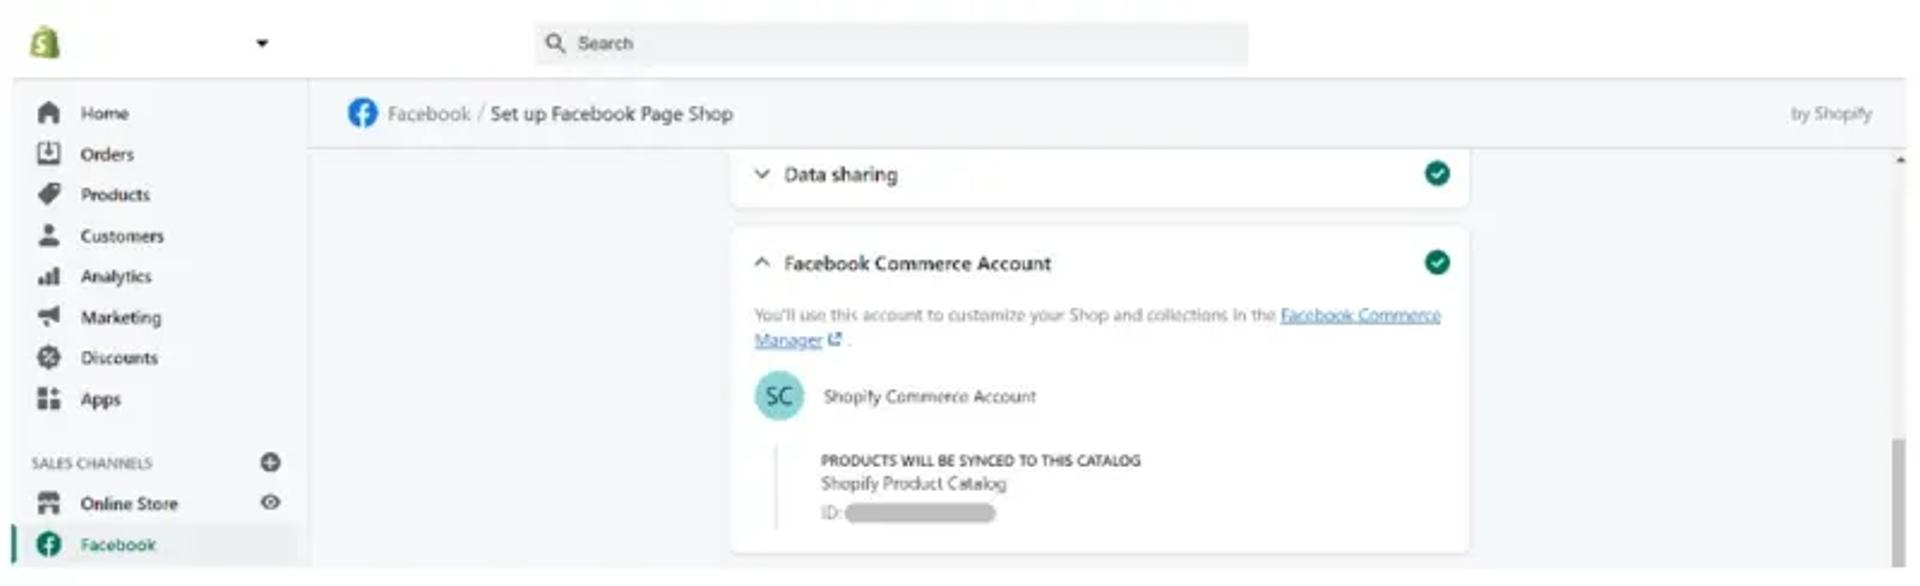
4. Make sure that you see the relevant Shopify Commerce Account.
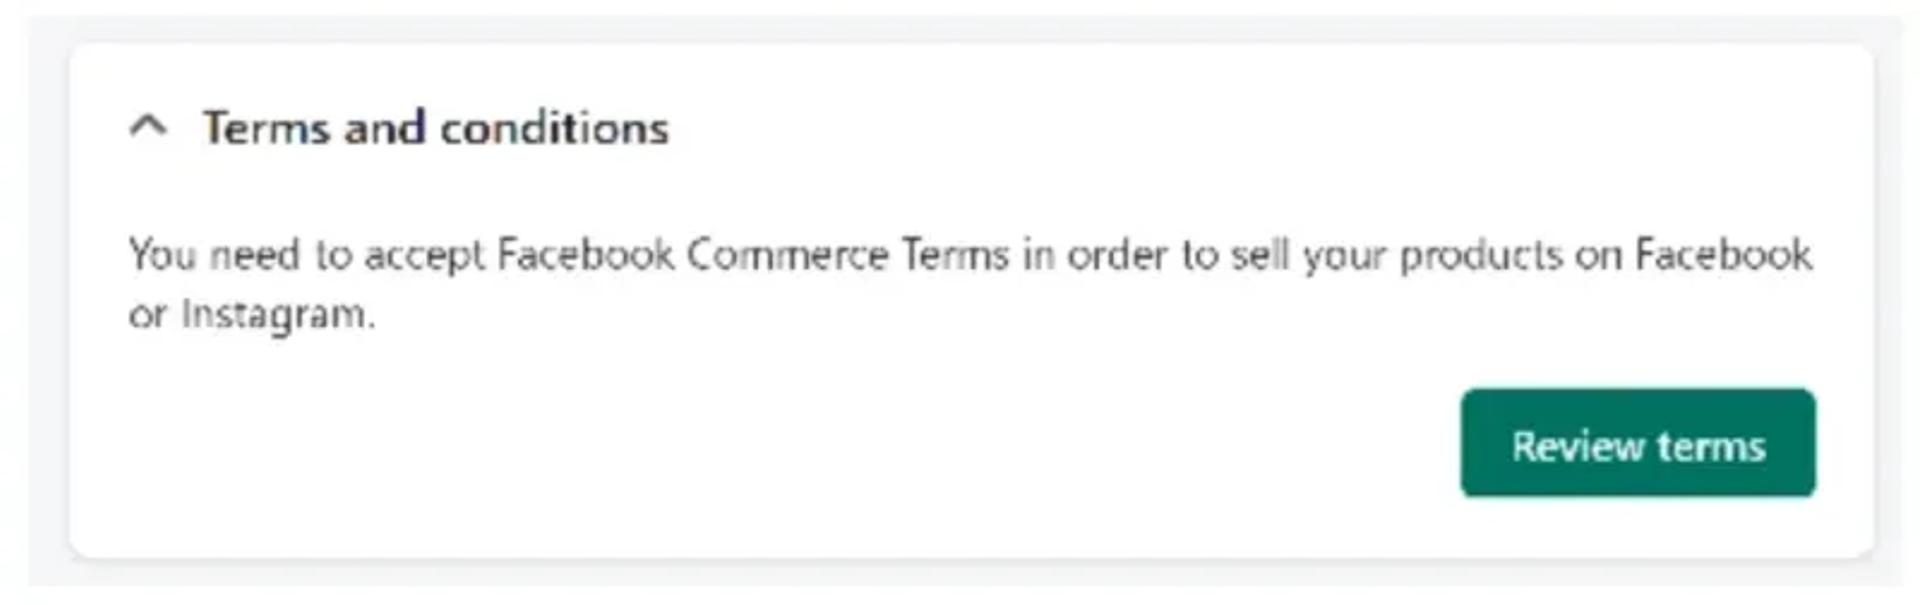
5. Go to Terms and conditions and press “Review terms”. If you agree with the terms and conditions, press “Accept terms”.
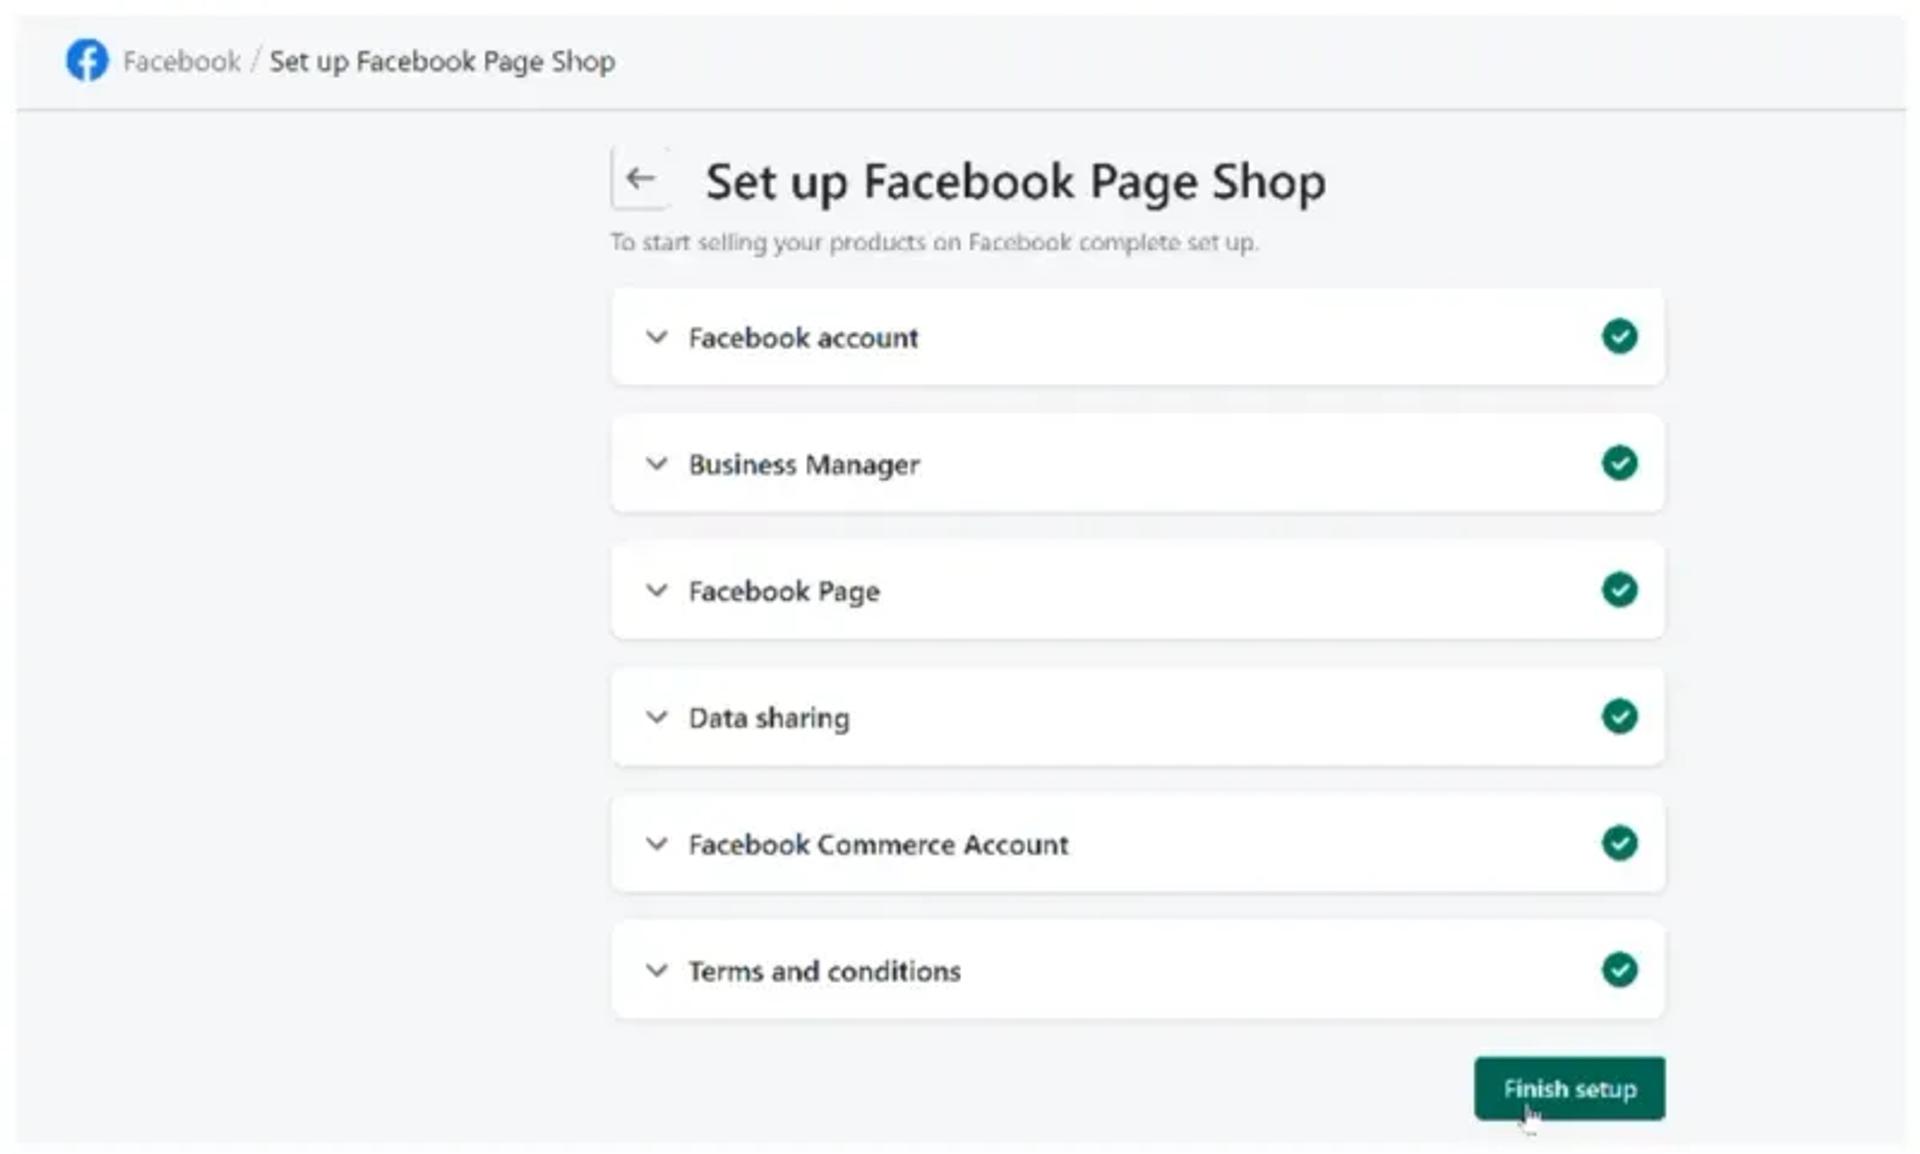
6. If you have gone through all previous steps properly, you will see the button “Finish step”. If so, press it.
Add Facebook Pixel to the website
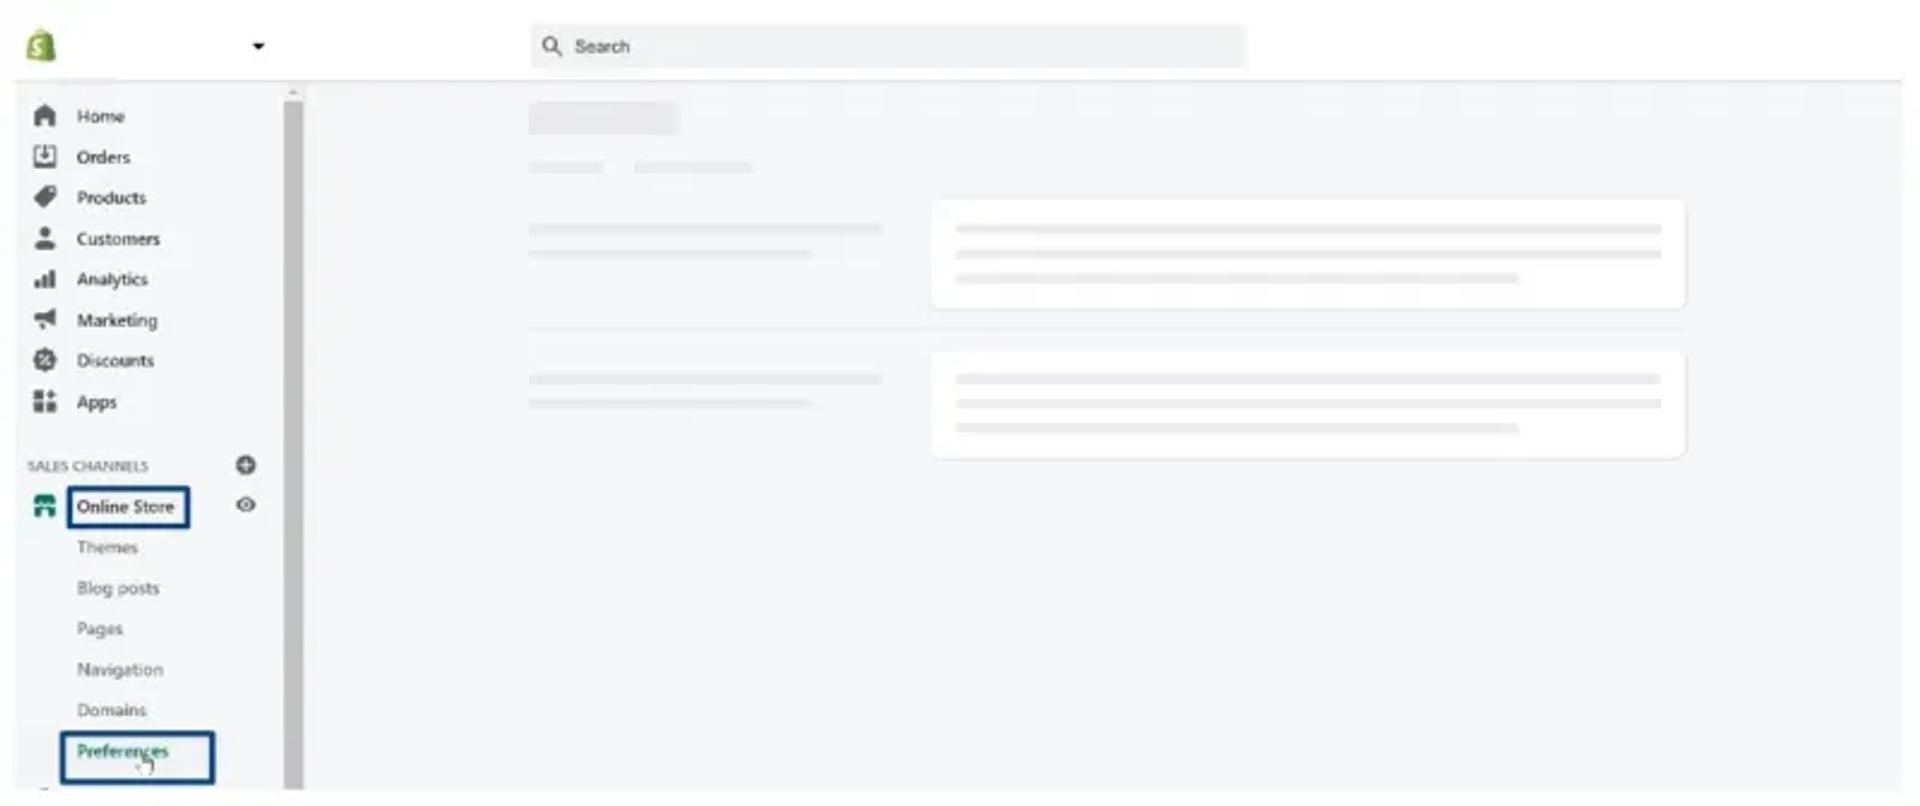
1. Navigate to Online store → Preferences:
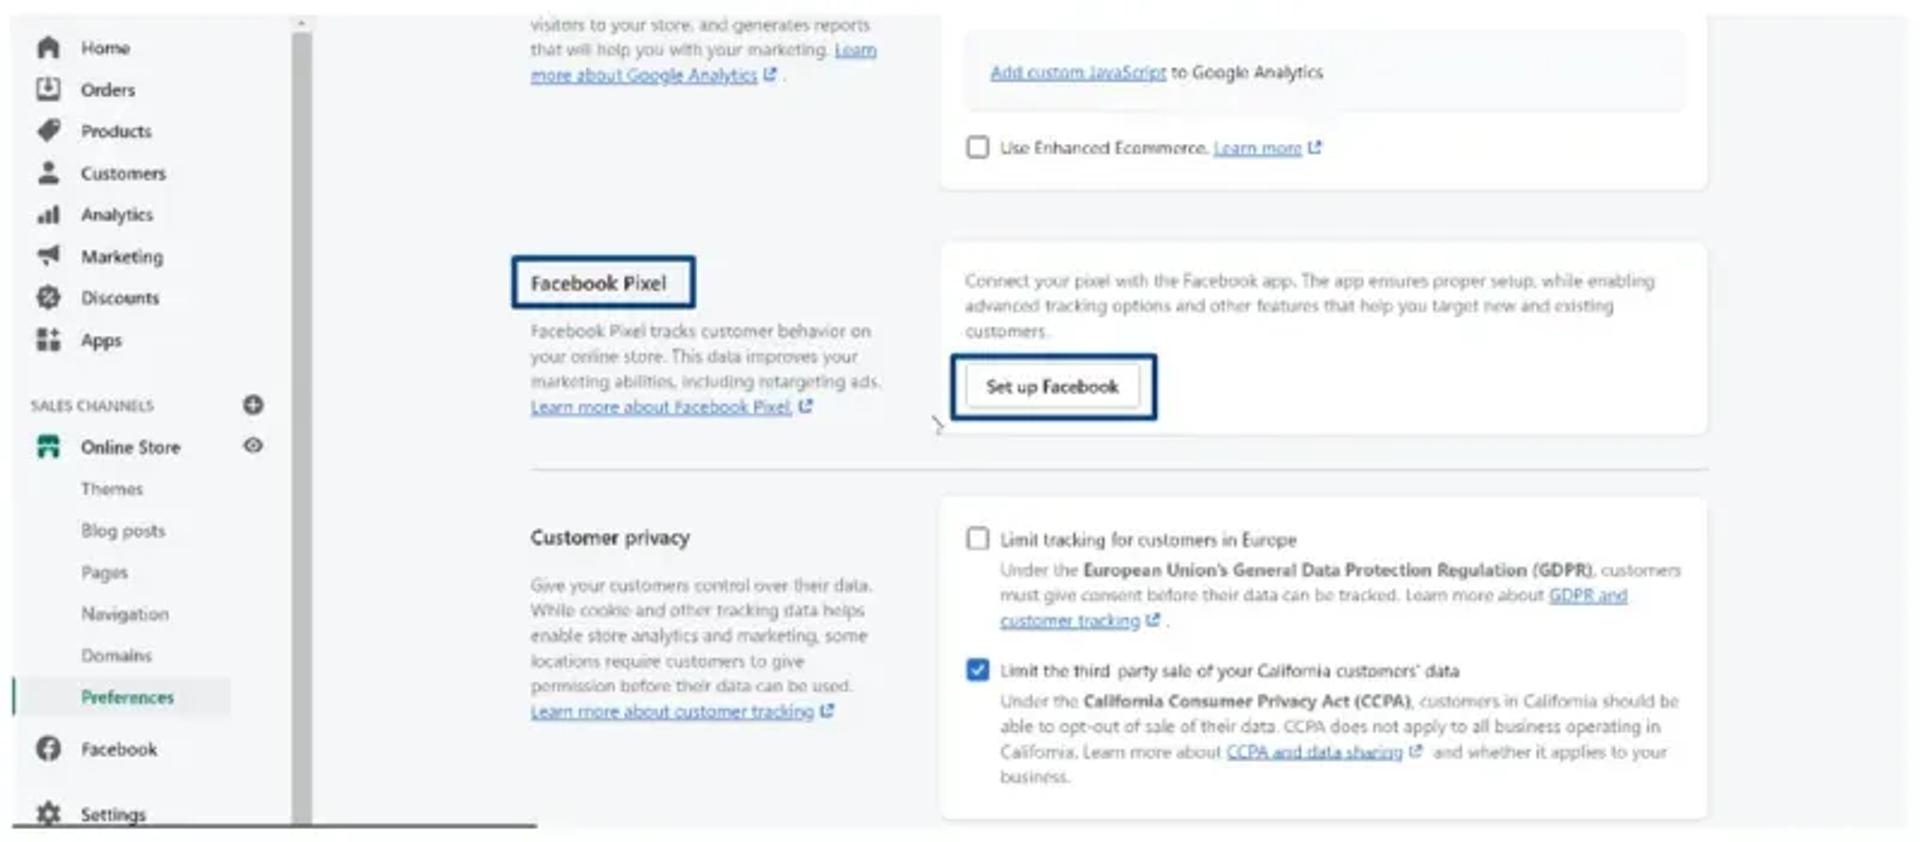
2. Go to Facebook Pixel → Set up Facebook:
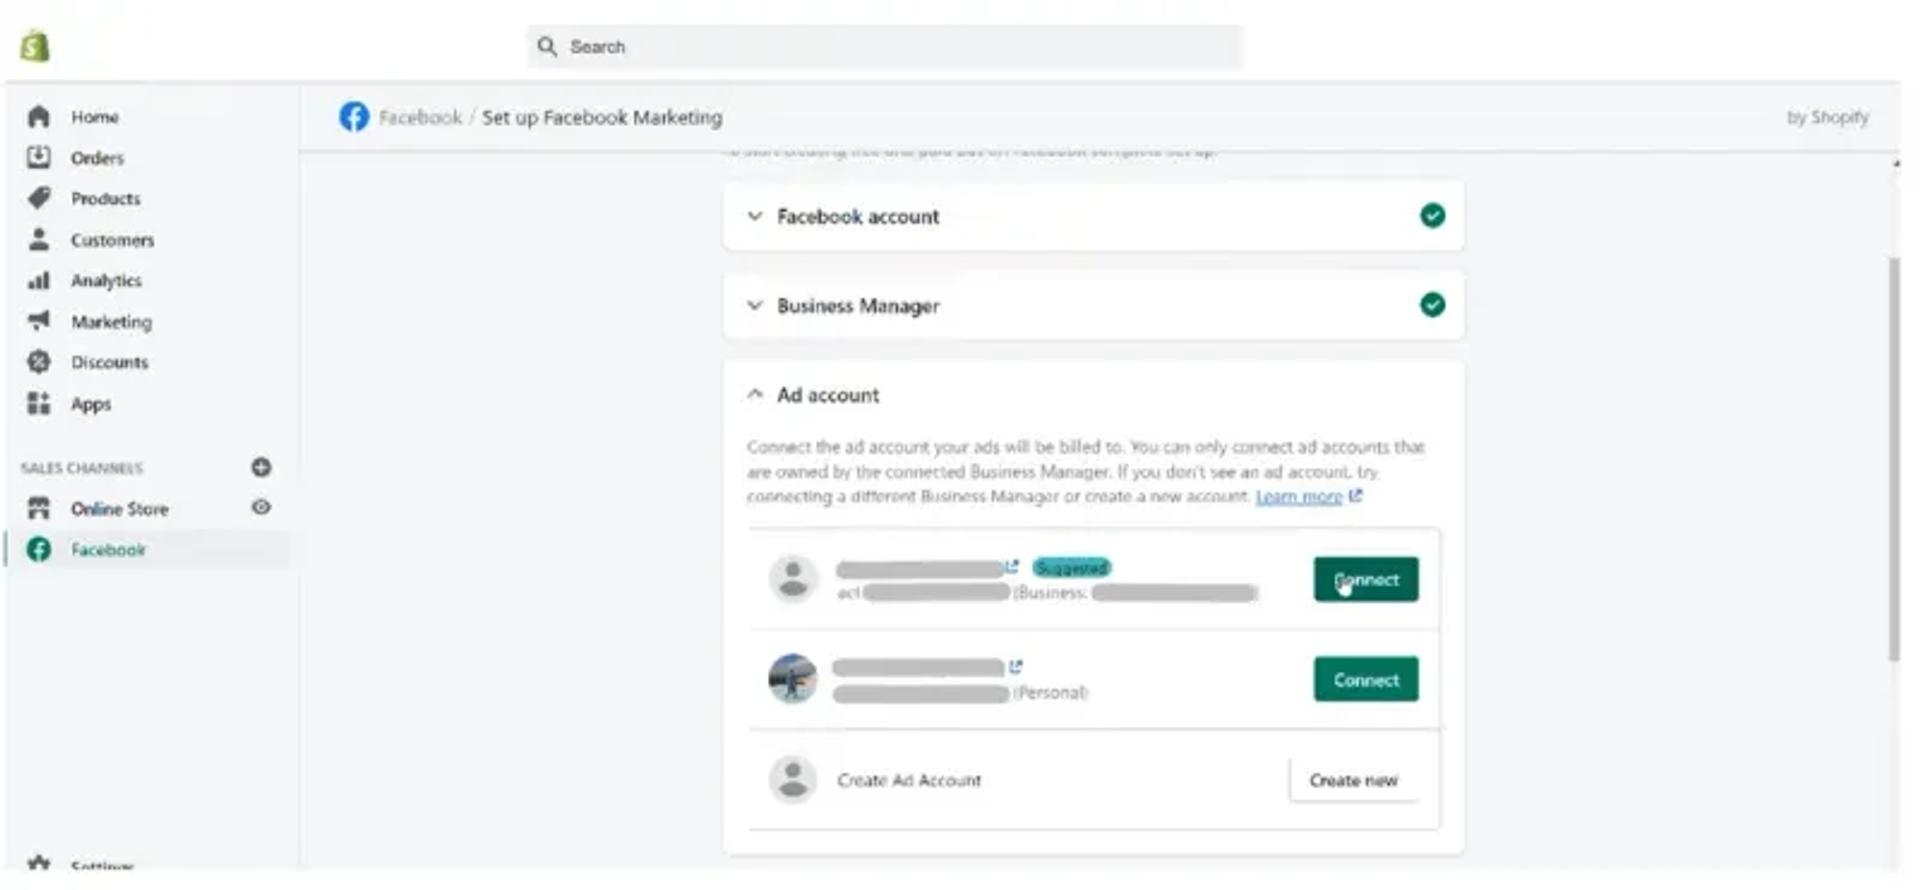
3. Choose the relevant ad account:
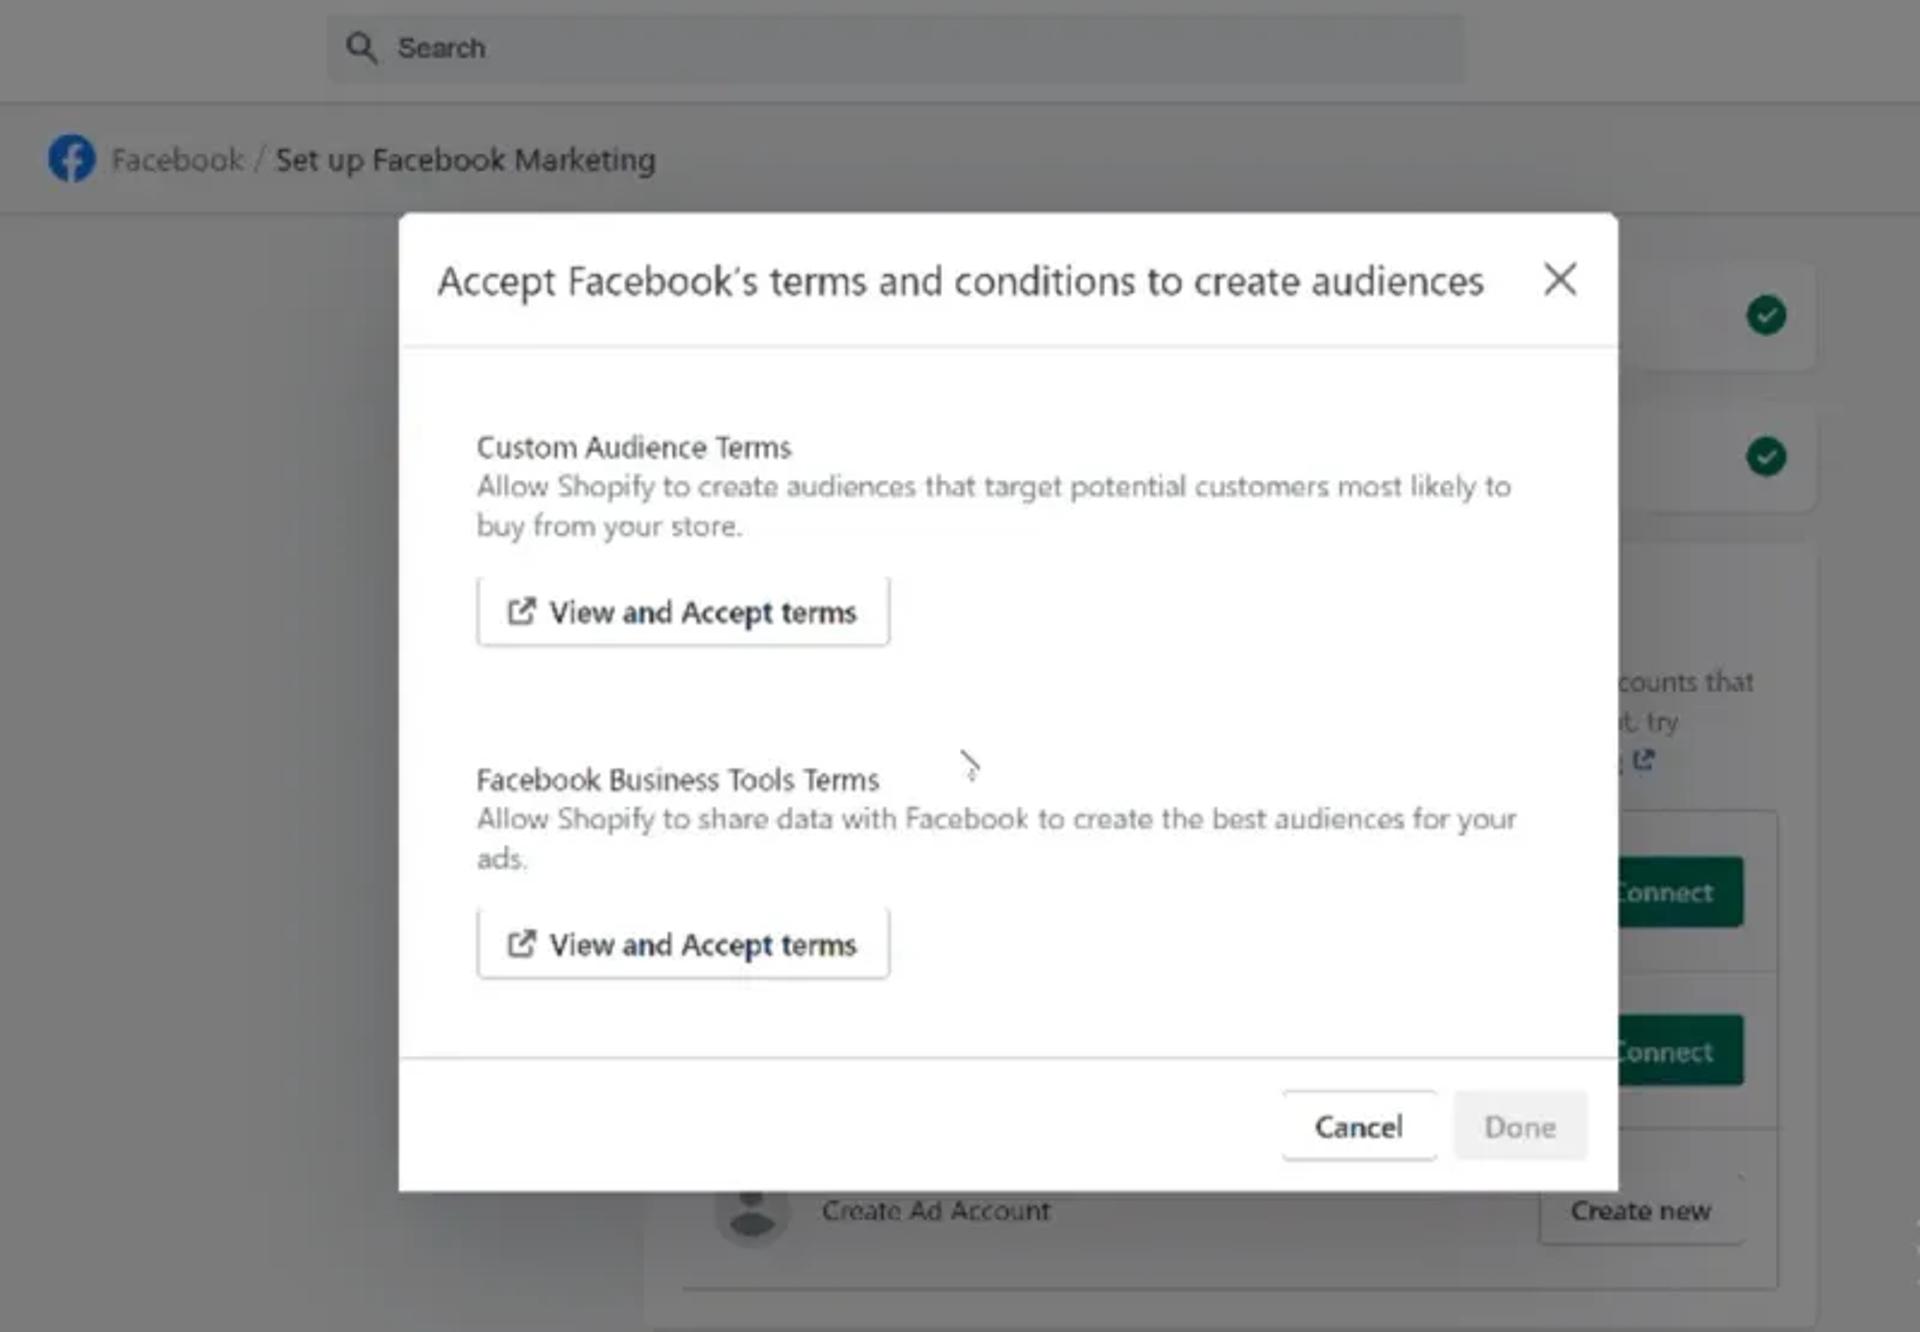
4. View and accept the proposed terms:
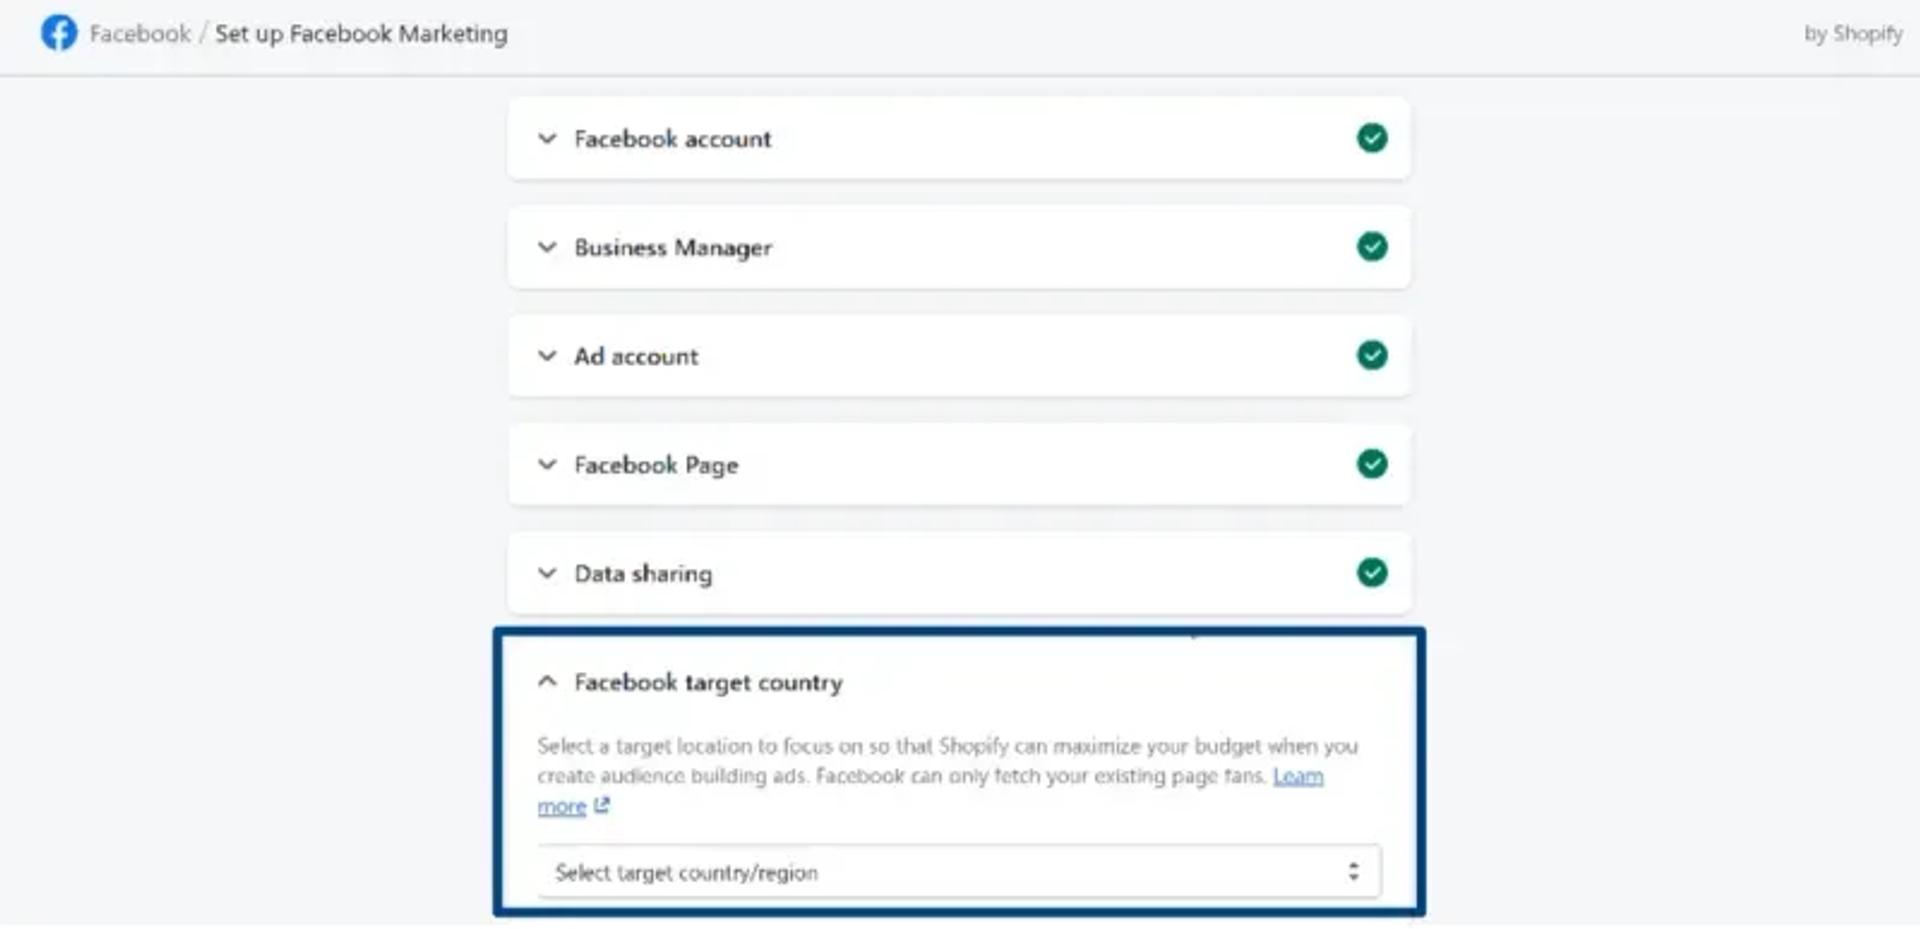
5. Choose the relevant country of sale:
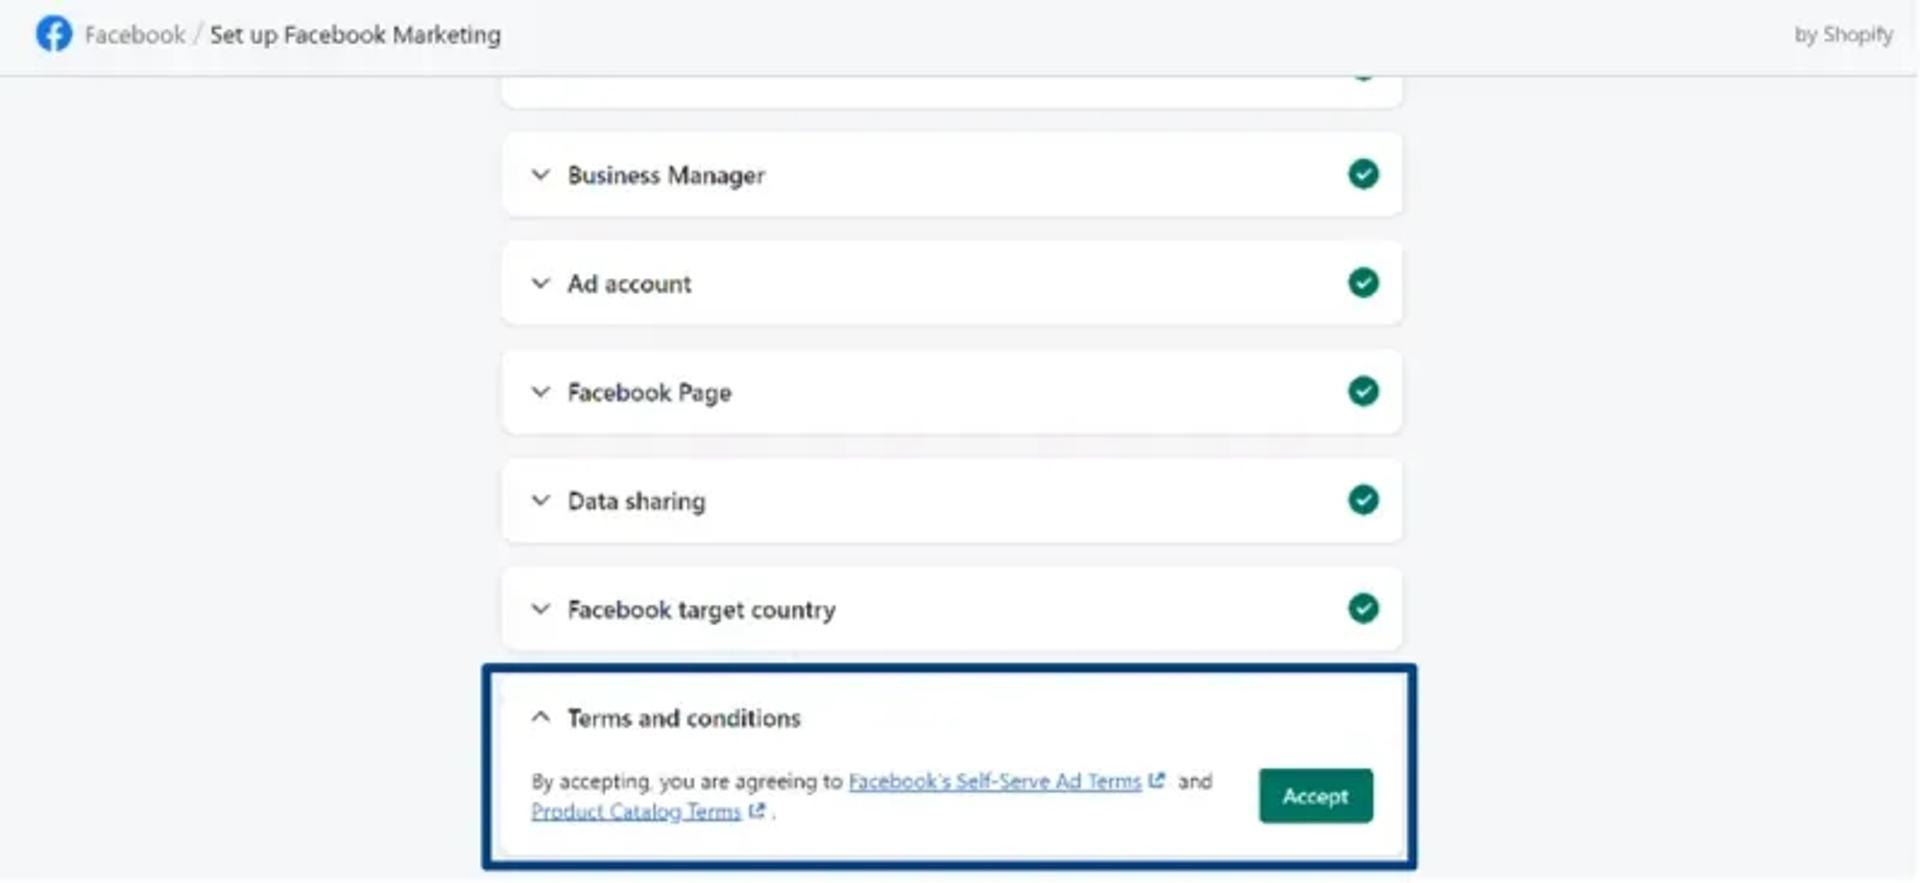
6. View and accept the following terms and conditions:
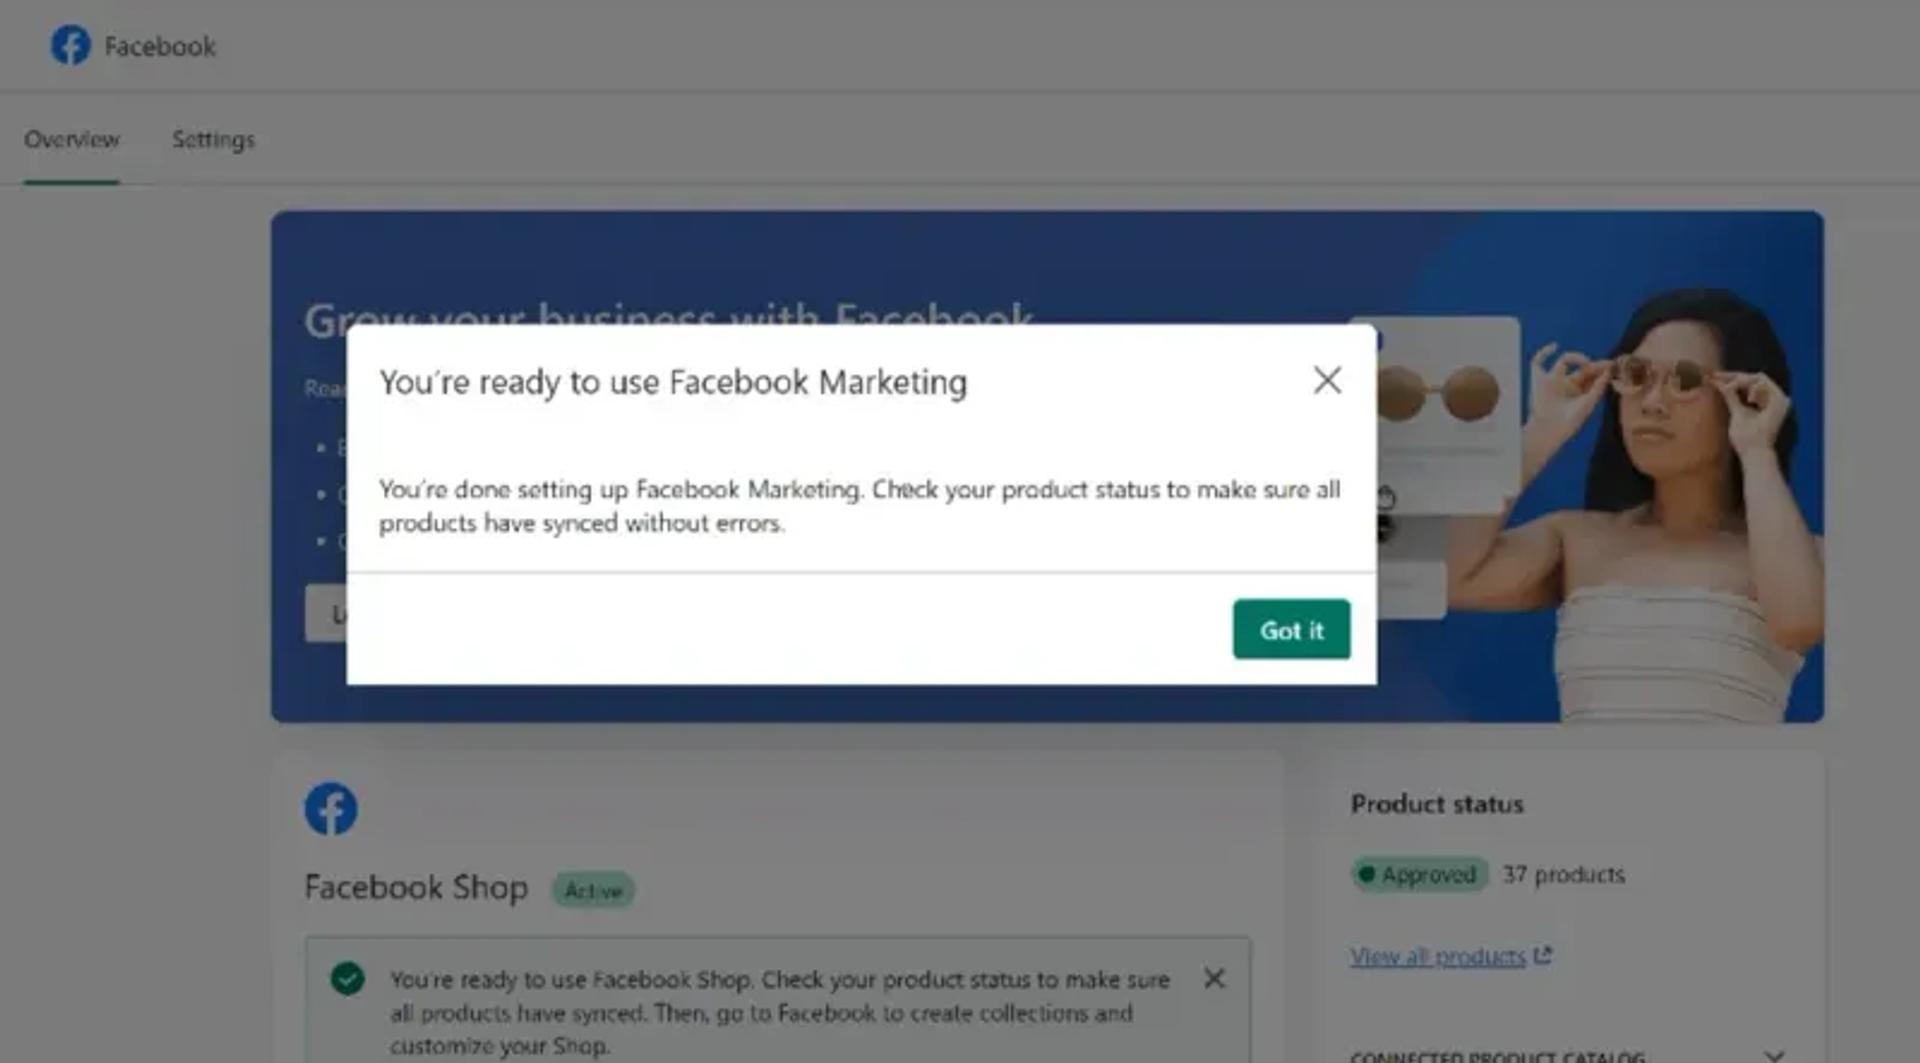
7. If you have gone through all previous steps properly, you will see the button “Finish step”. Press it. You will see the following message:
Ask a developer to install the Facebook pixel code to your Shopify store
If you want to, you can ask a web developer to help you add your Meta pixel to your Shopify store. Here's how to do it:
- Go to Events Manager.
- Choose the pixel you want to add.
- Click Continue Pixel Setup.
- Choose Email Instructions.
- Enter your web developer’s email address.
- Click Send.
Verify and test your Pixel
Head back to your Facebook account. Under your events manager, check the box next to ‘I’ve completed the setup on Shopify’ and click on "next". Enter your Shopify store URL in the ‘Verify connection’ step and click on 'send test traffic'. This should lead you to your Shopify website. Now head back to Facebook and see if the Pixel has been verified.
To ensure that all the events on your Shopify store are being tracked properly, click on ‘Test events in Events Manager’ in the ‘Confirmation’ step.
Shopify/Facebook Pixel not working? Try the Facebook Pixel Helper Chrome extension
Do you have issues with incorrect data while using Facebook Pixel? How does Facebook Pixel Helper help fix your Facebook Pixel issues? If you are not using Chrome yet, this is a prerequisite.
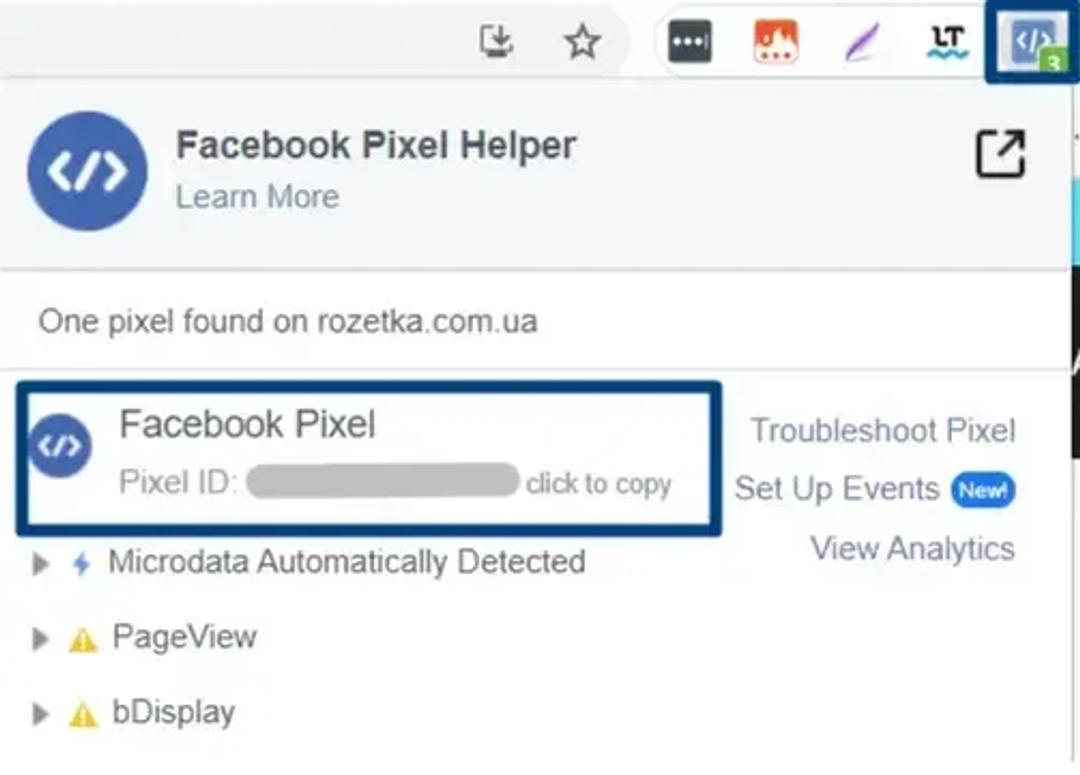
You can browse through Chrome Web Store to find an extension. After you install it, a new icon appears above the top right corner. You will see that the pixel setup was successfully completed by the Shopify icon of your store.
If something has gone wrong, you won’t see the relevant Pixel in this window:
Finally, we’re done, and now, it’s your turn to use Facebook Pixel! 😉. You can watch a Facebook pixel tutorial for more hands-on knowledge.
Advanced Facebook Pixel Usage
Just by installing the Facebook Pixel Id on your Shopify store, you already get quite a bit of value out of it. It tracks audience and behavioral data, sends it back to Facebook to improve the conversion rates, and helps you track the revenue generated by each ad in your Facebook Ads Manager.
To step up your Meta pixel game even further, there are some pixel events that you can use. These will help you with creating custom conversions and custom audiences.
Creating Custom Conversions
Meta pixel automatically measures the standard events on your Shopify store. This event data is used to better understand the behavior of your customers. The standard events that can be tracked are:
View content
When a potential customer views a page, for example, a product page
Search
When website visitors make a search
Add to cart/wishlist
When a potential customer adds an item to their cart or wishlist on your web page. Other standard events are "initiate checkout", "add payment information", "purchase", etc.
However, you can create your own custom conversions with Meta pixels.
To do this:
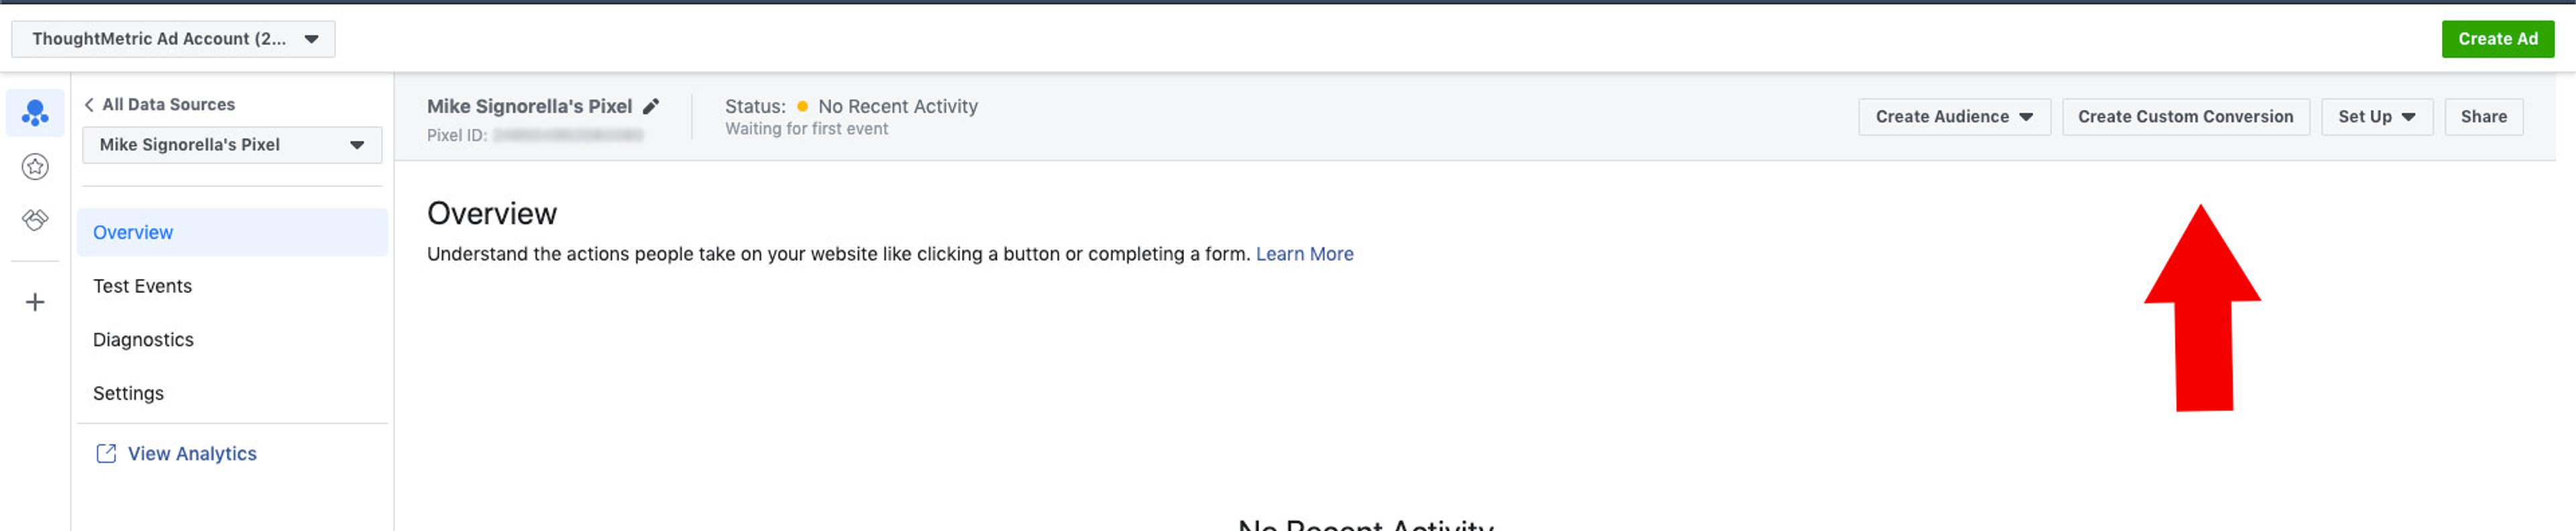
- Click on the "create custom conversion" button in your Facebook Ads Manager.
- In the creation wizard that comes up, set the URL rule to the webpage that should trigger your custom event.
- Pick a name and category for your event and click create.
An example of a useful custom conversion.
Let’s say you have a Shopify store for beauty products. You decided to create a Facebook ads campaign to promote your new eyeshadows. Hence, you want to target an audience of people who will be interested in this kind of product.
In this case, you can create a View Content event and add a URL-based rule that will make the Pixel fire whenever someone views a page at a URL that contains the keyword “eyeshadows”.
Once you achieve a big enough number of leads, you can create a custom audience of people who completed this event and target them.
Custom Audiences
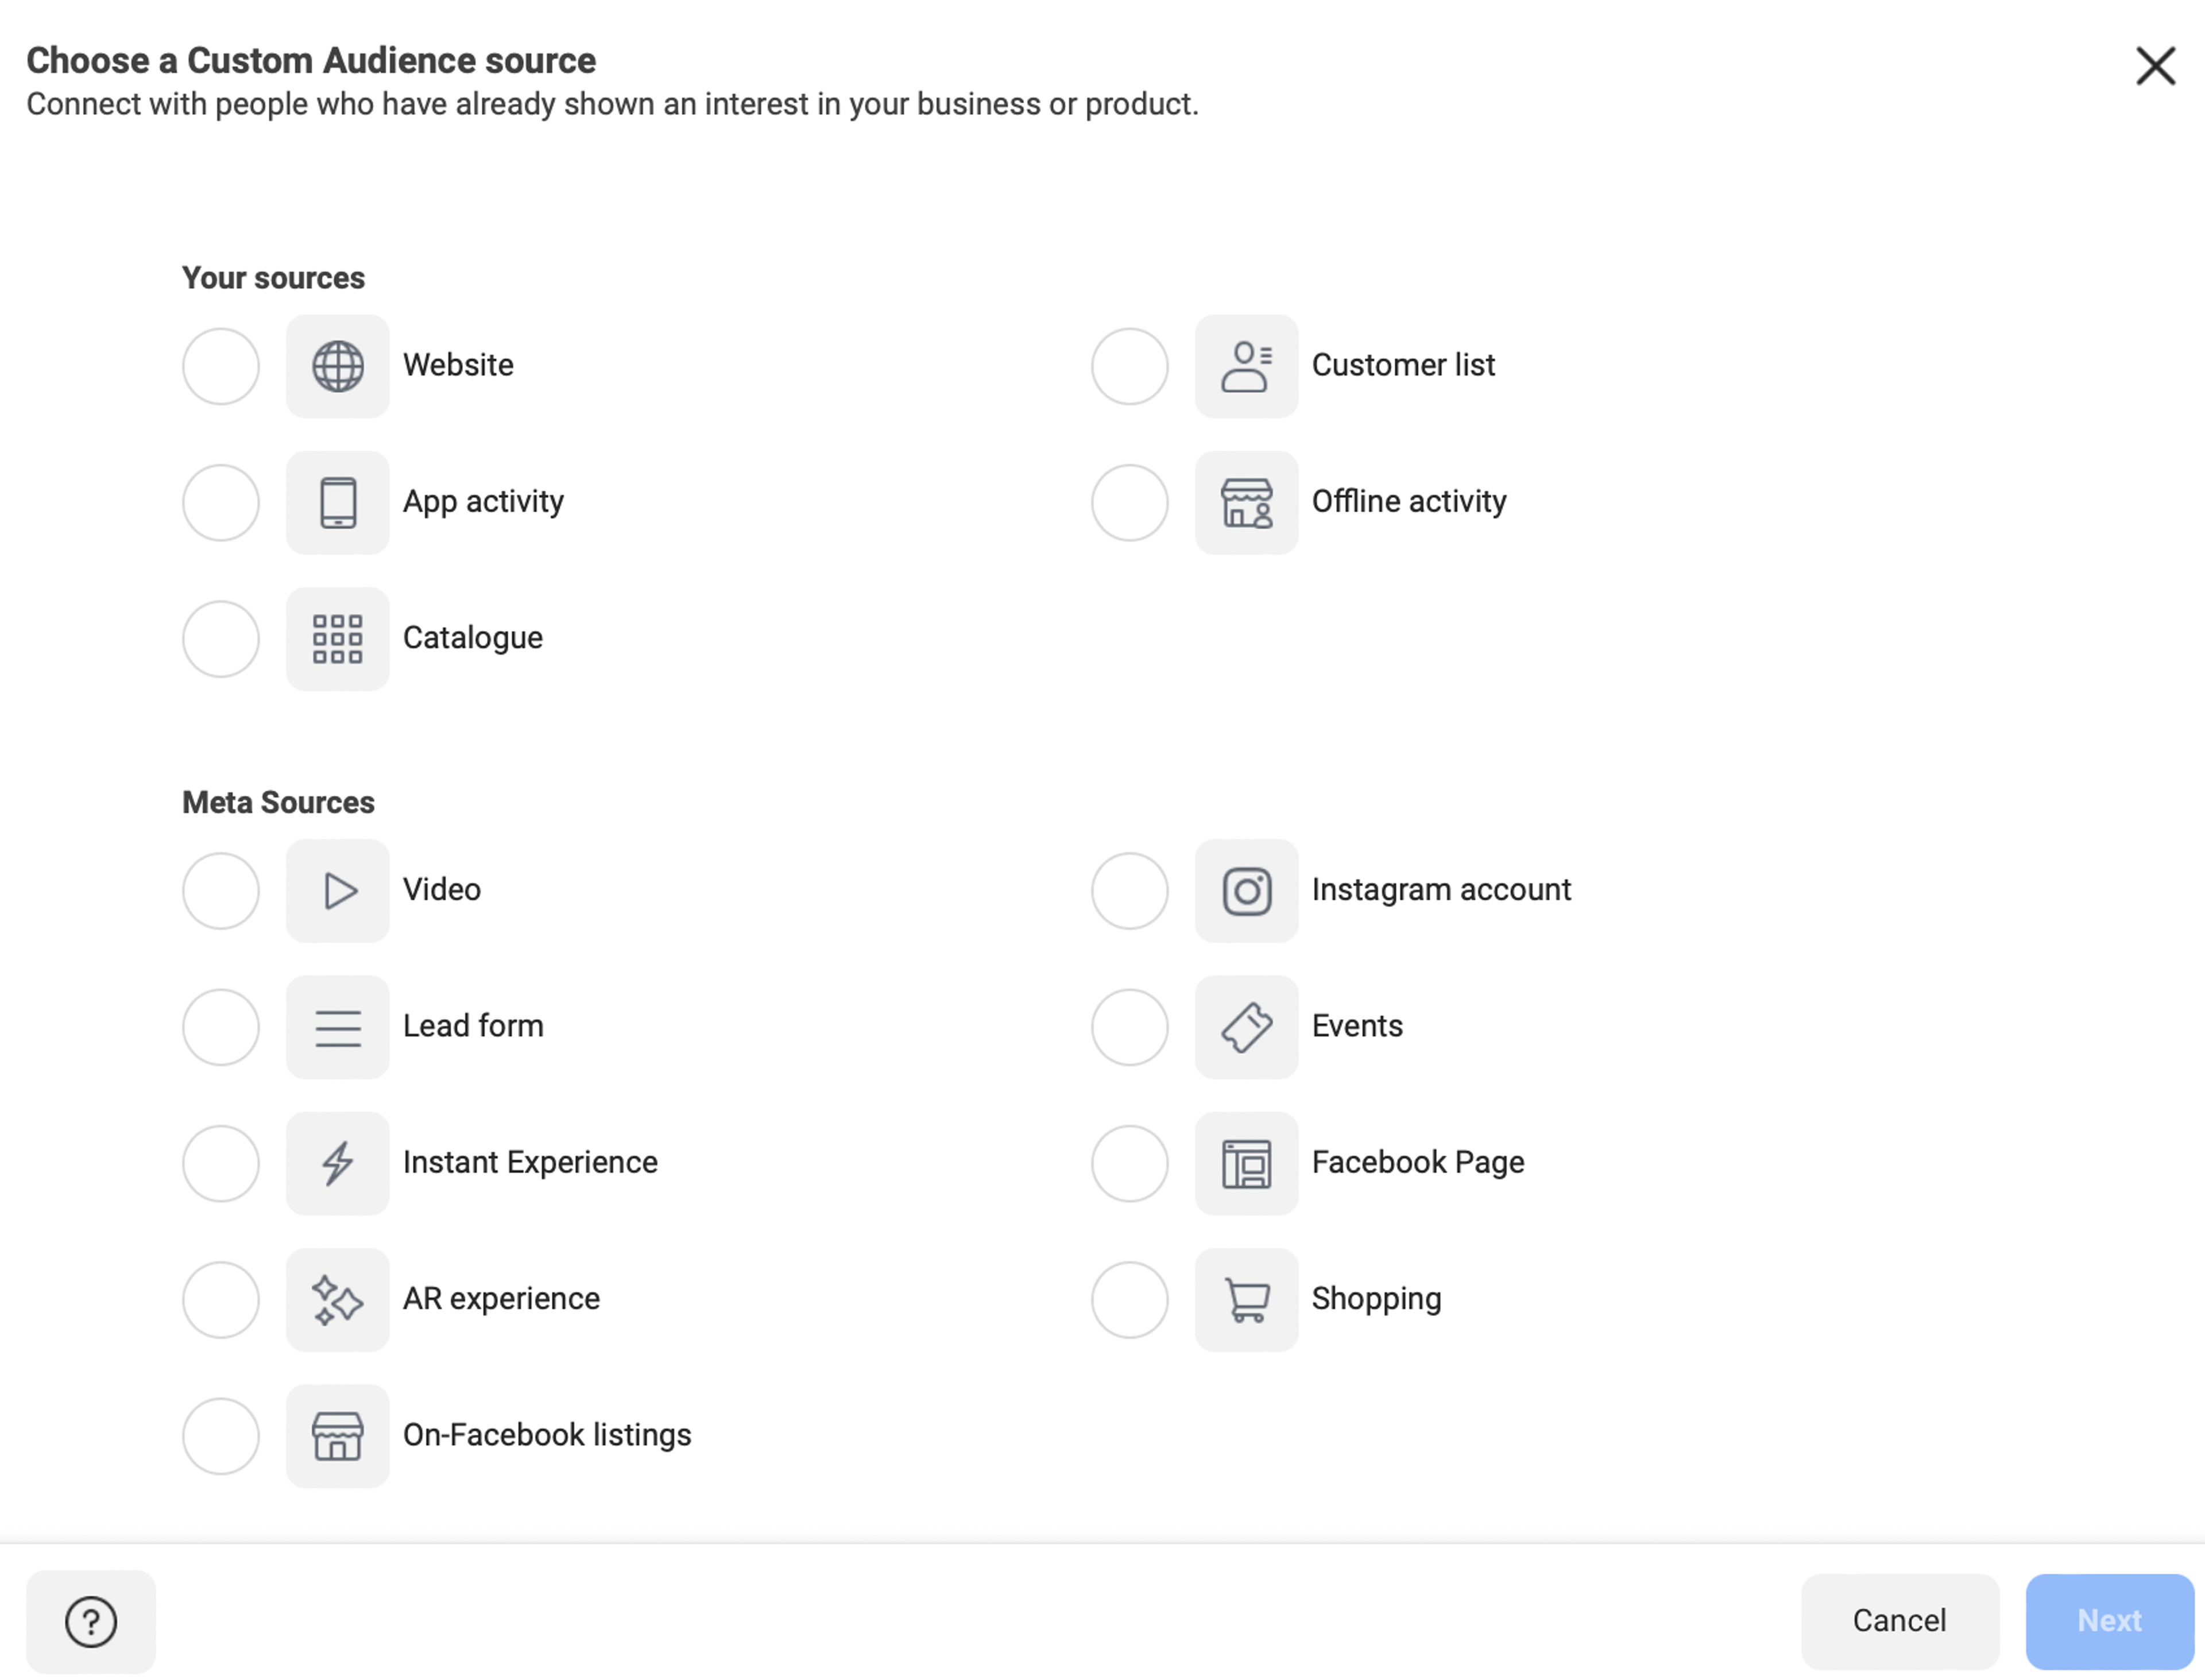
To create the retargeting ads as discussed earlier, you need to create a custom audience. To create your custom audience;
- Click on the Create Audience button in your Facebook ads manager, then select Custom Audience
- Define your custom audience from your website
- Click on the "Create audience" button.
Create Lookalike audiences.
Creating lookalike audiences using Facebook pixel data is one of the most powerful solutions for acquiring new customers. Lookalike audiences are groups of Facebook users with similar characteristics to the people in your source audience.
Facebook has a lot of data and it can help with finding exactly the people who have a higher chance to drive conversions for you.
How to delete my Facebook Pixel from Shopify?
It's possible that you have installed a Facebook pixel on your Shopify store and you want to change it. You have to remove the old one before you can install a new one.
Here's how to delete your old Facebook pixel from your Shopify store:
- Go to your Shopify admin and click ‘Facebook.’
- Click ‘Settings.’
- Navigate to the ‘Data sharing settings’ section and click ‘Disconnect'.
You may still have the pixel code in your theme.liquid file. Make sure you remove it by following these steps;
- Go to your Shopify account and click ‘Online store’ → ‘Themes.’
- Find the ‘Current theme’ section, click ‘Actions,’ and choose ‘Edit code.’
- Open the code editor by clicking on the ‘theme.liquid’ file.
- Locate your Facebook pixel code between the <head> and </head> tags and delete it.
- Make sure to click ‘Save.’
FREQUENTLY ASKED QUESTIONS
Is Facebook Pixel discontinued?
No, Facebook pixel is still actively being used. The brand name has only been changed to Meta Pixel.
How do I find my Facebook Pixel ID?
To find your Facebook Pixel ID, go to your Events Manager and select your Business Account. Under Data Sources, look for the number that starts with ID.
Do Facebook Ads need a Pixel?
Technically, they don't. You can run Facebook advertising without a Facebook pixel.
However, if you want to gain optimal results from your Facebook ads, it's best to use a Facebook pixel along with them. If you don't, the only form of conversion you'd have to rely on will be link clicks.
What does this message mean, "Facebook Pixel is not paired with any product catalog”
This message means one of three things.
- No products found in a given catalog;
- Unable to Find Product Catalog;
- Pixel Doesn’t Have a Product Catalog Pair.
Basically, the product ID sent by your Shopify Facebook pixel is not found in a product catalog, or no product catalog exists.
If you don't run dynamic ads, you can just ignore this message. On the other hand, if want to run dynamic ads, you need to check and be sure that everything is in place.
